Hold the plastic sleeves steady in one hand and pull out an arms length from the skien with the other.
*see getting started video for tips on how to thread needle.
Floss Card


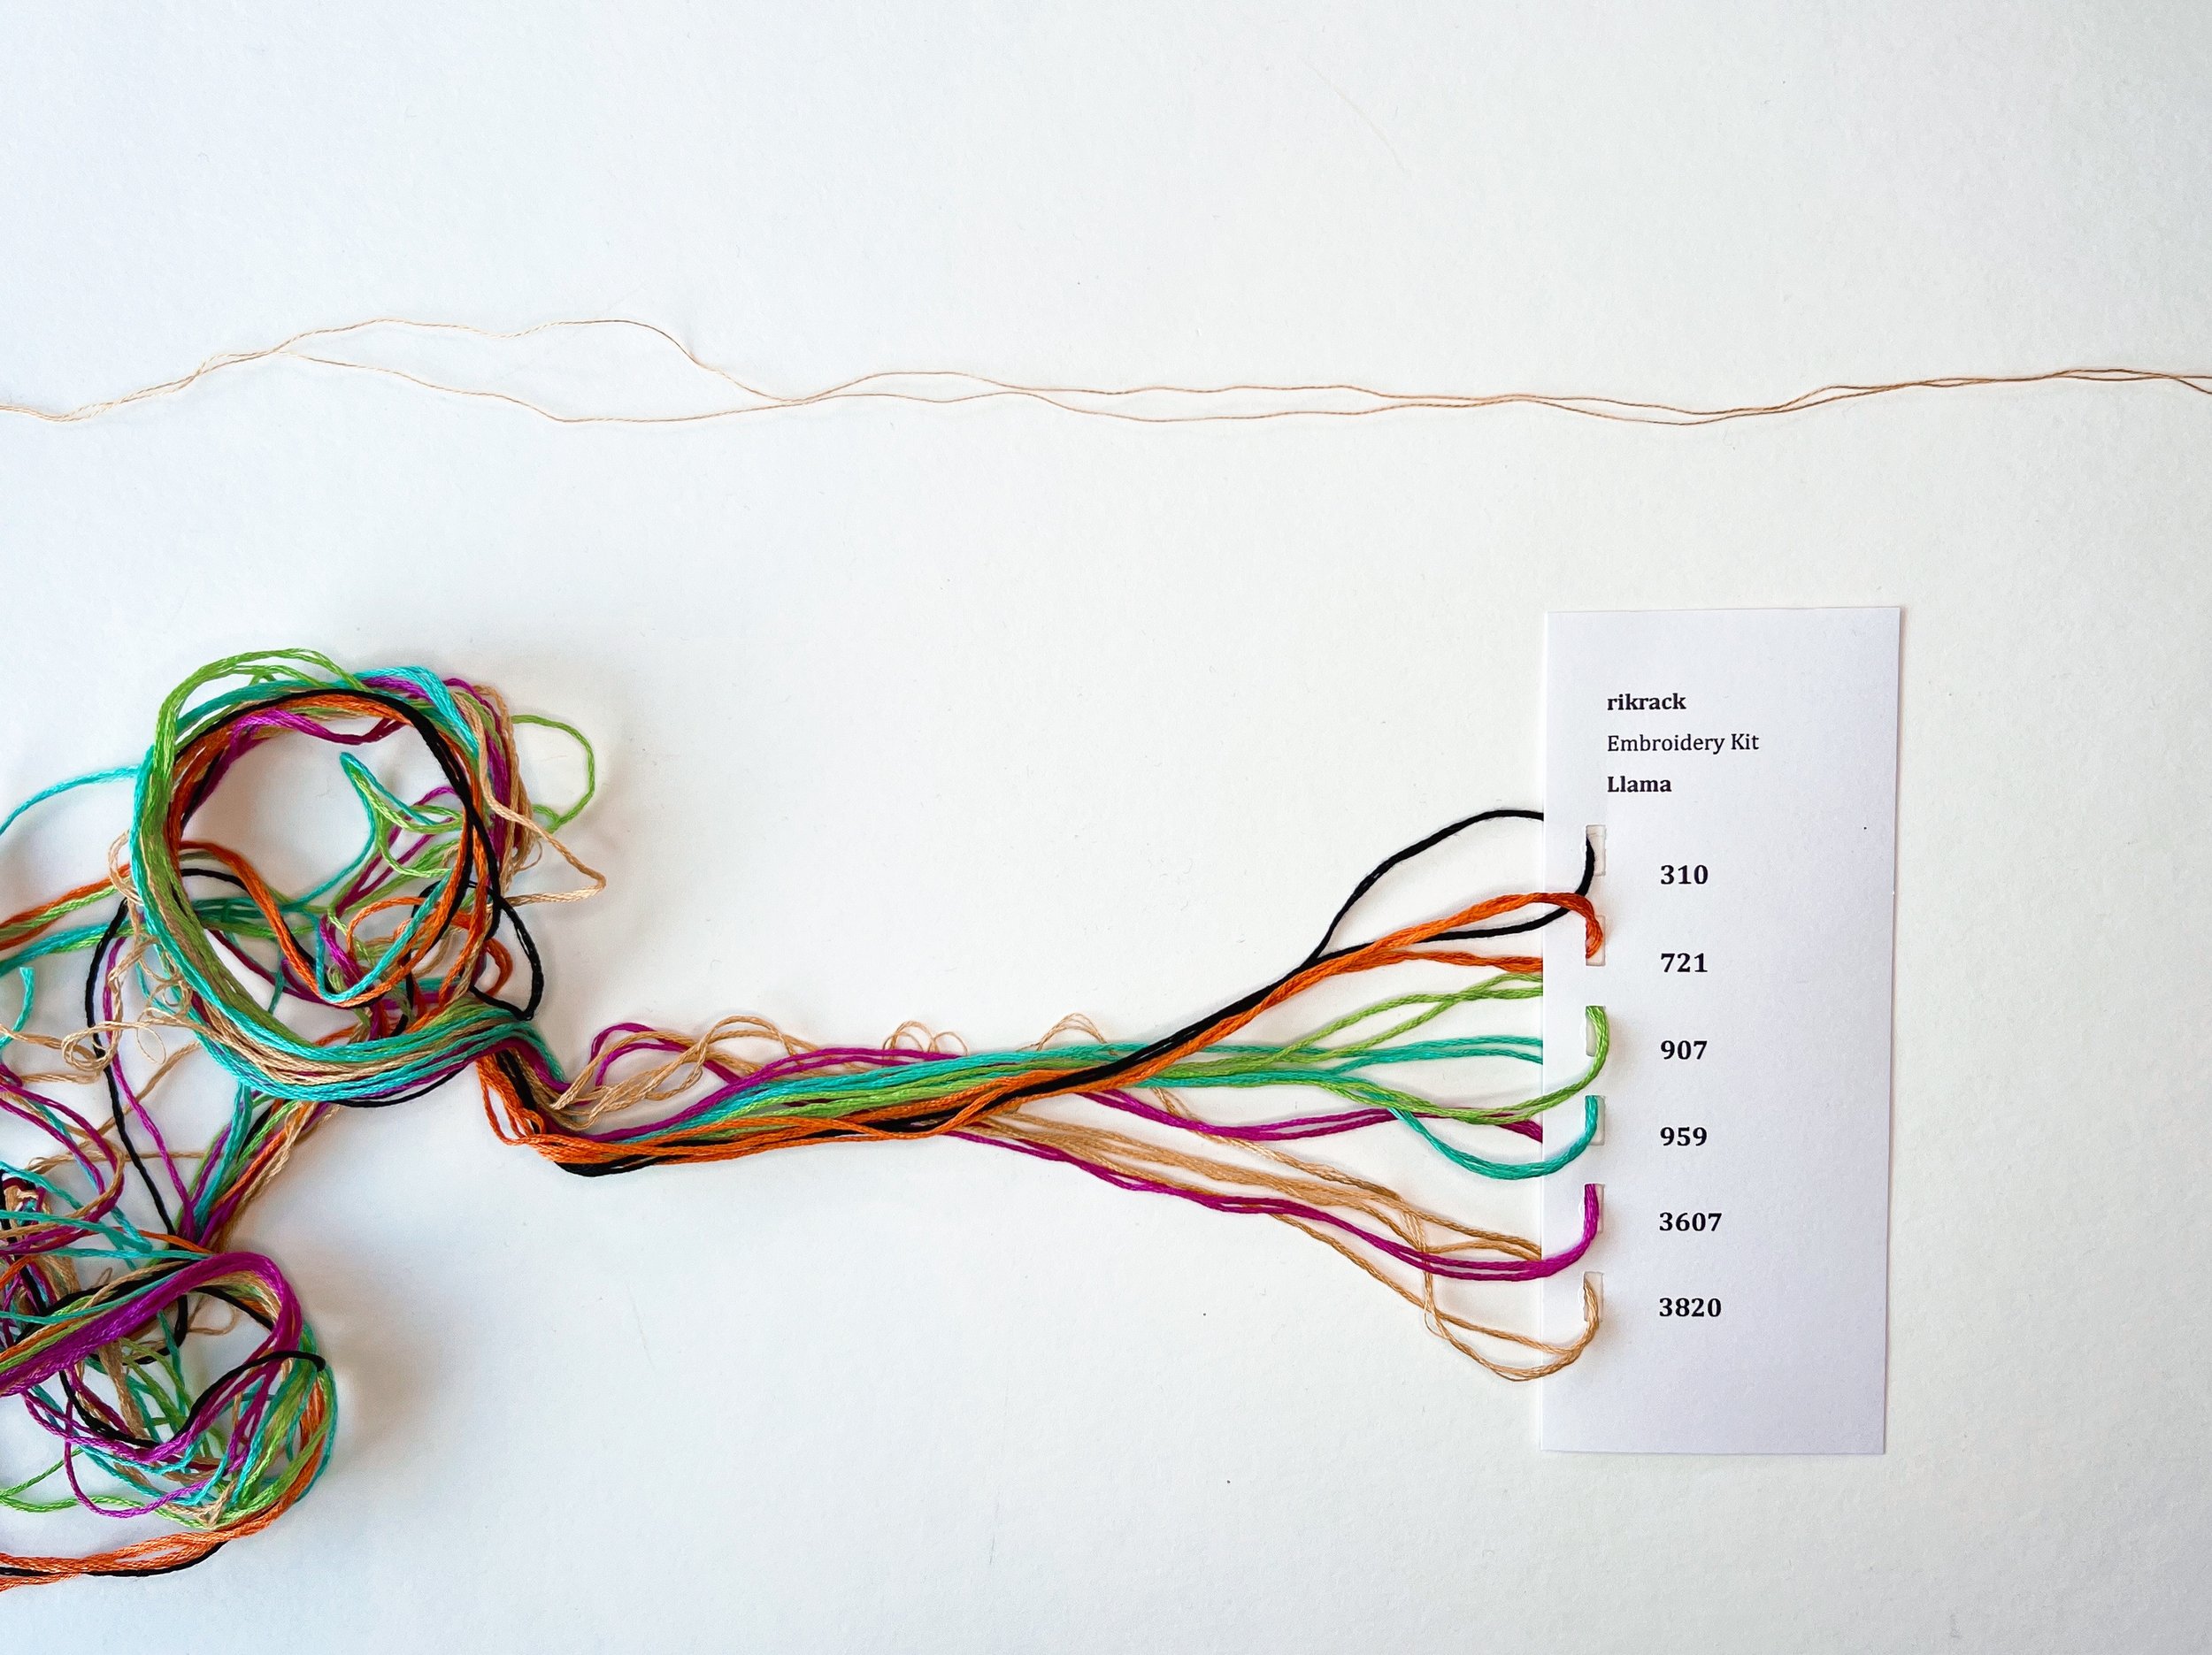
Click on image to enlarge
gently loosen big knot 2. use you needle to separate one strand from the six strand floss 3. pinch single strand with one hand and pinch tightly the remaining floss with the other hand. 4. pull single strand all the way out 5. smooth out the floss still in the floss card *important: do this each time you pull out a strand of floss
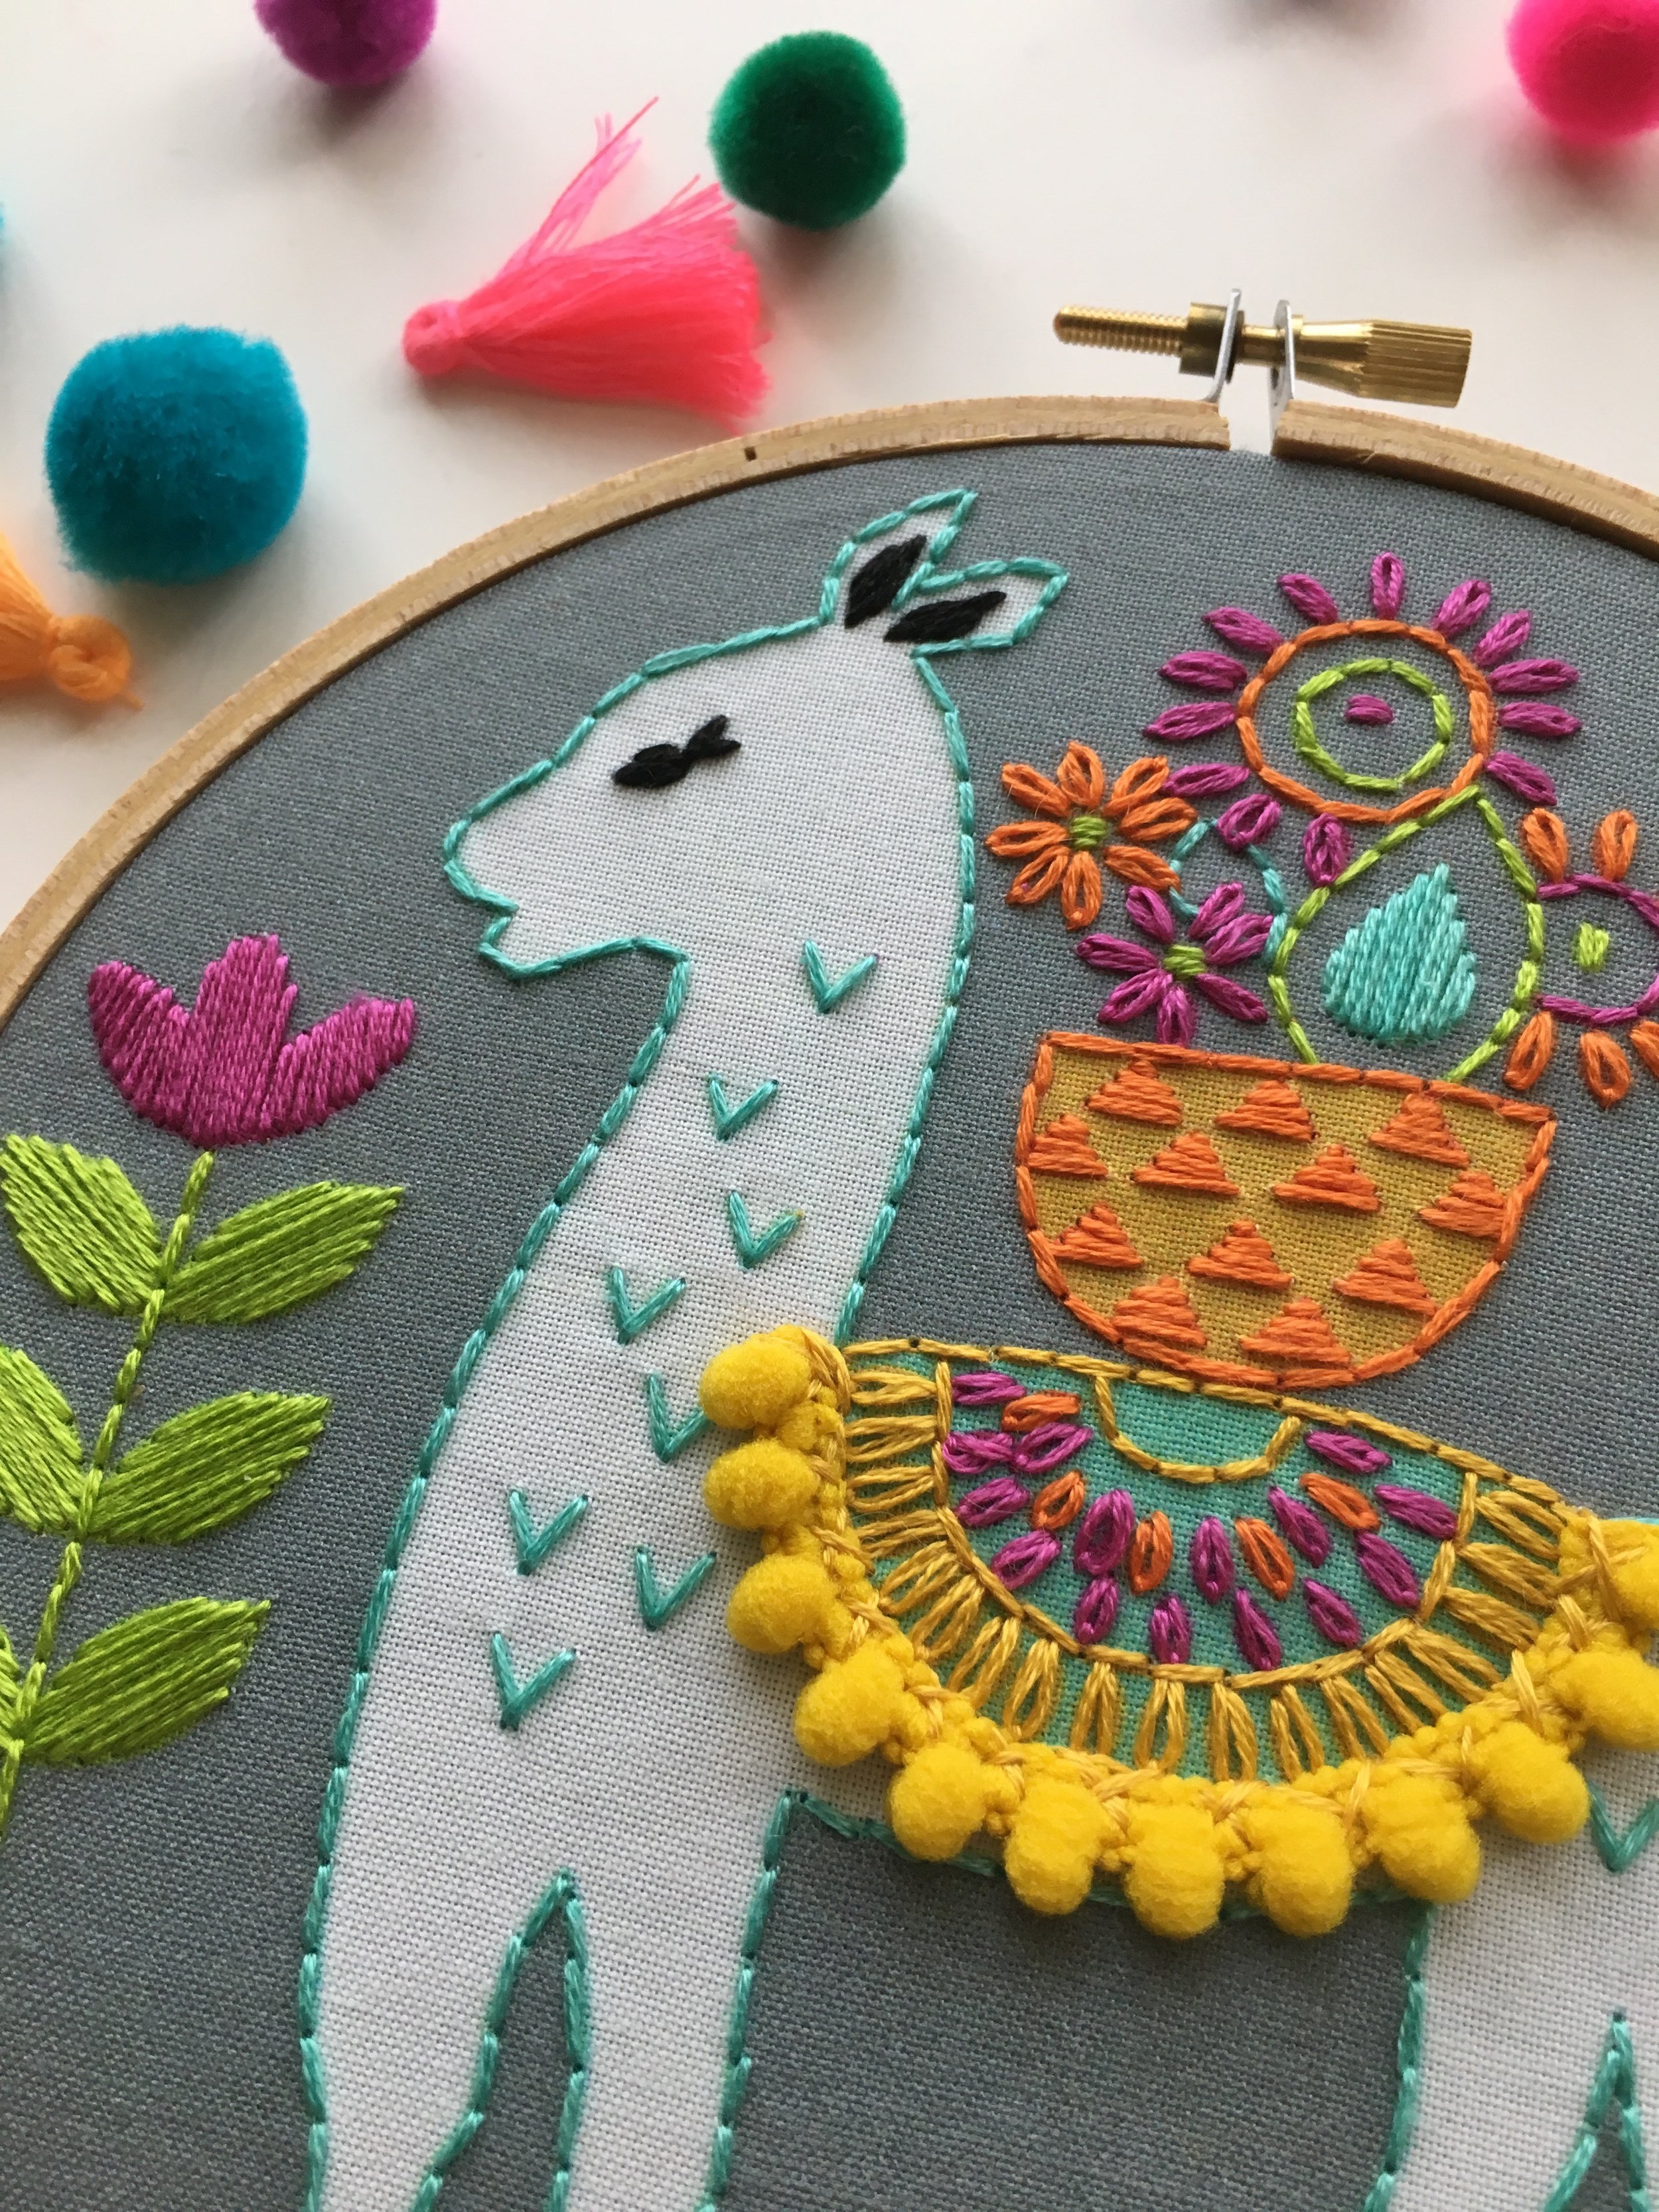
For more info on embroidery stitches I recommend Mary Corbet videos on YouTube.
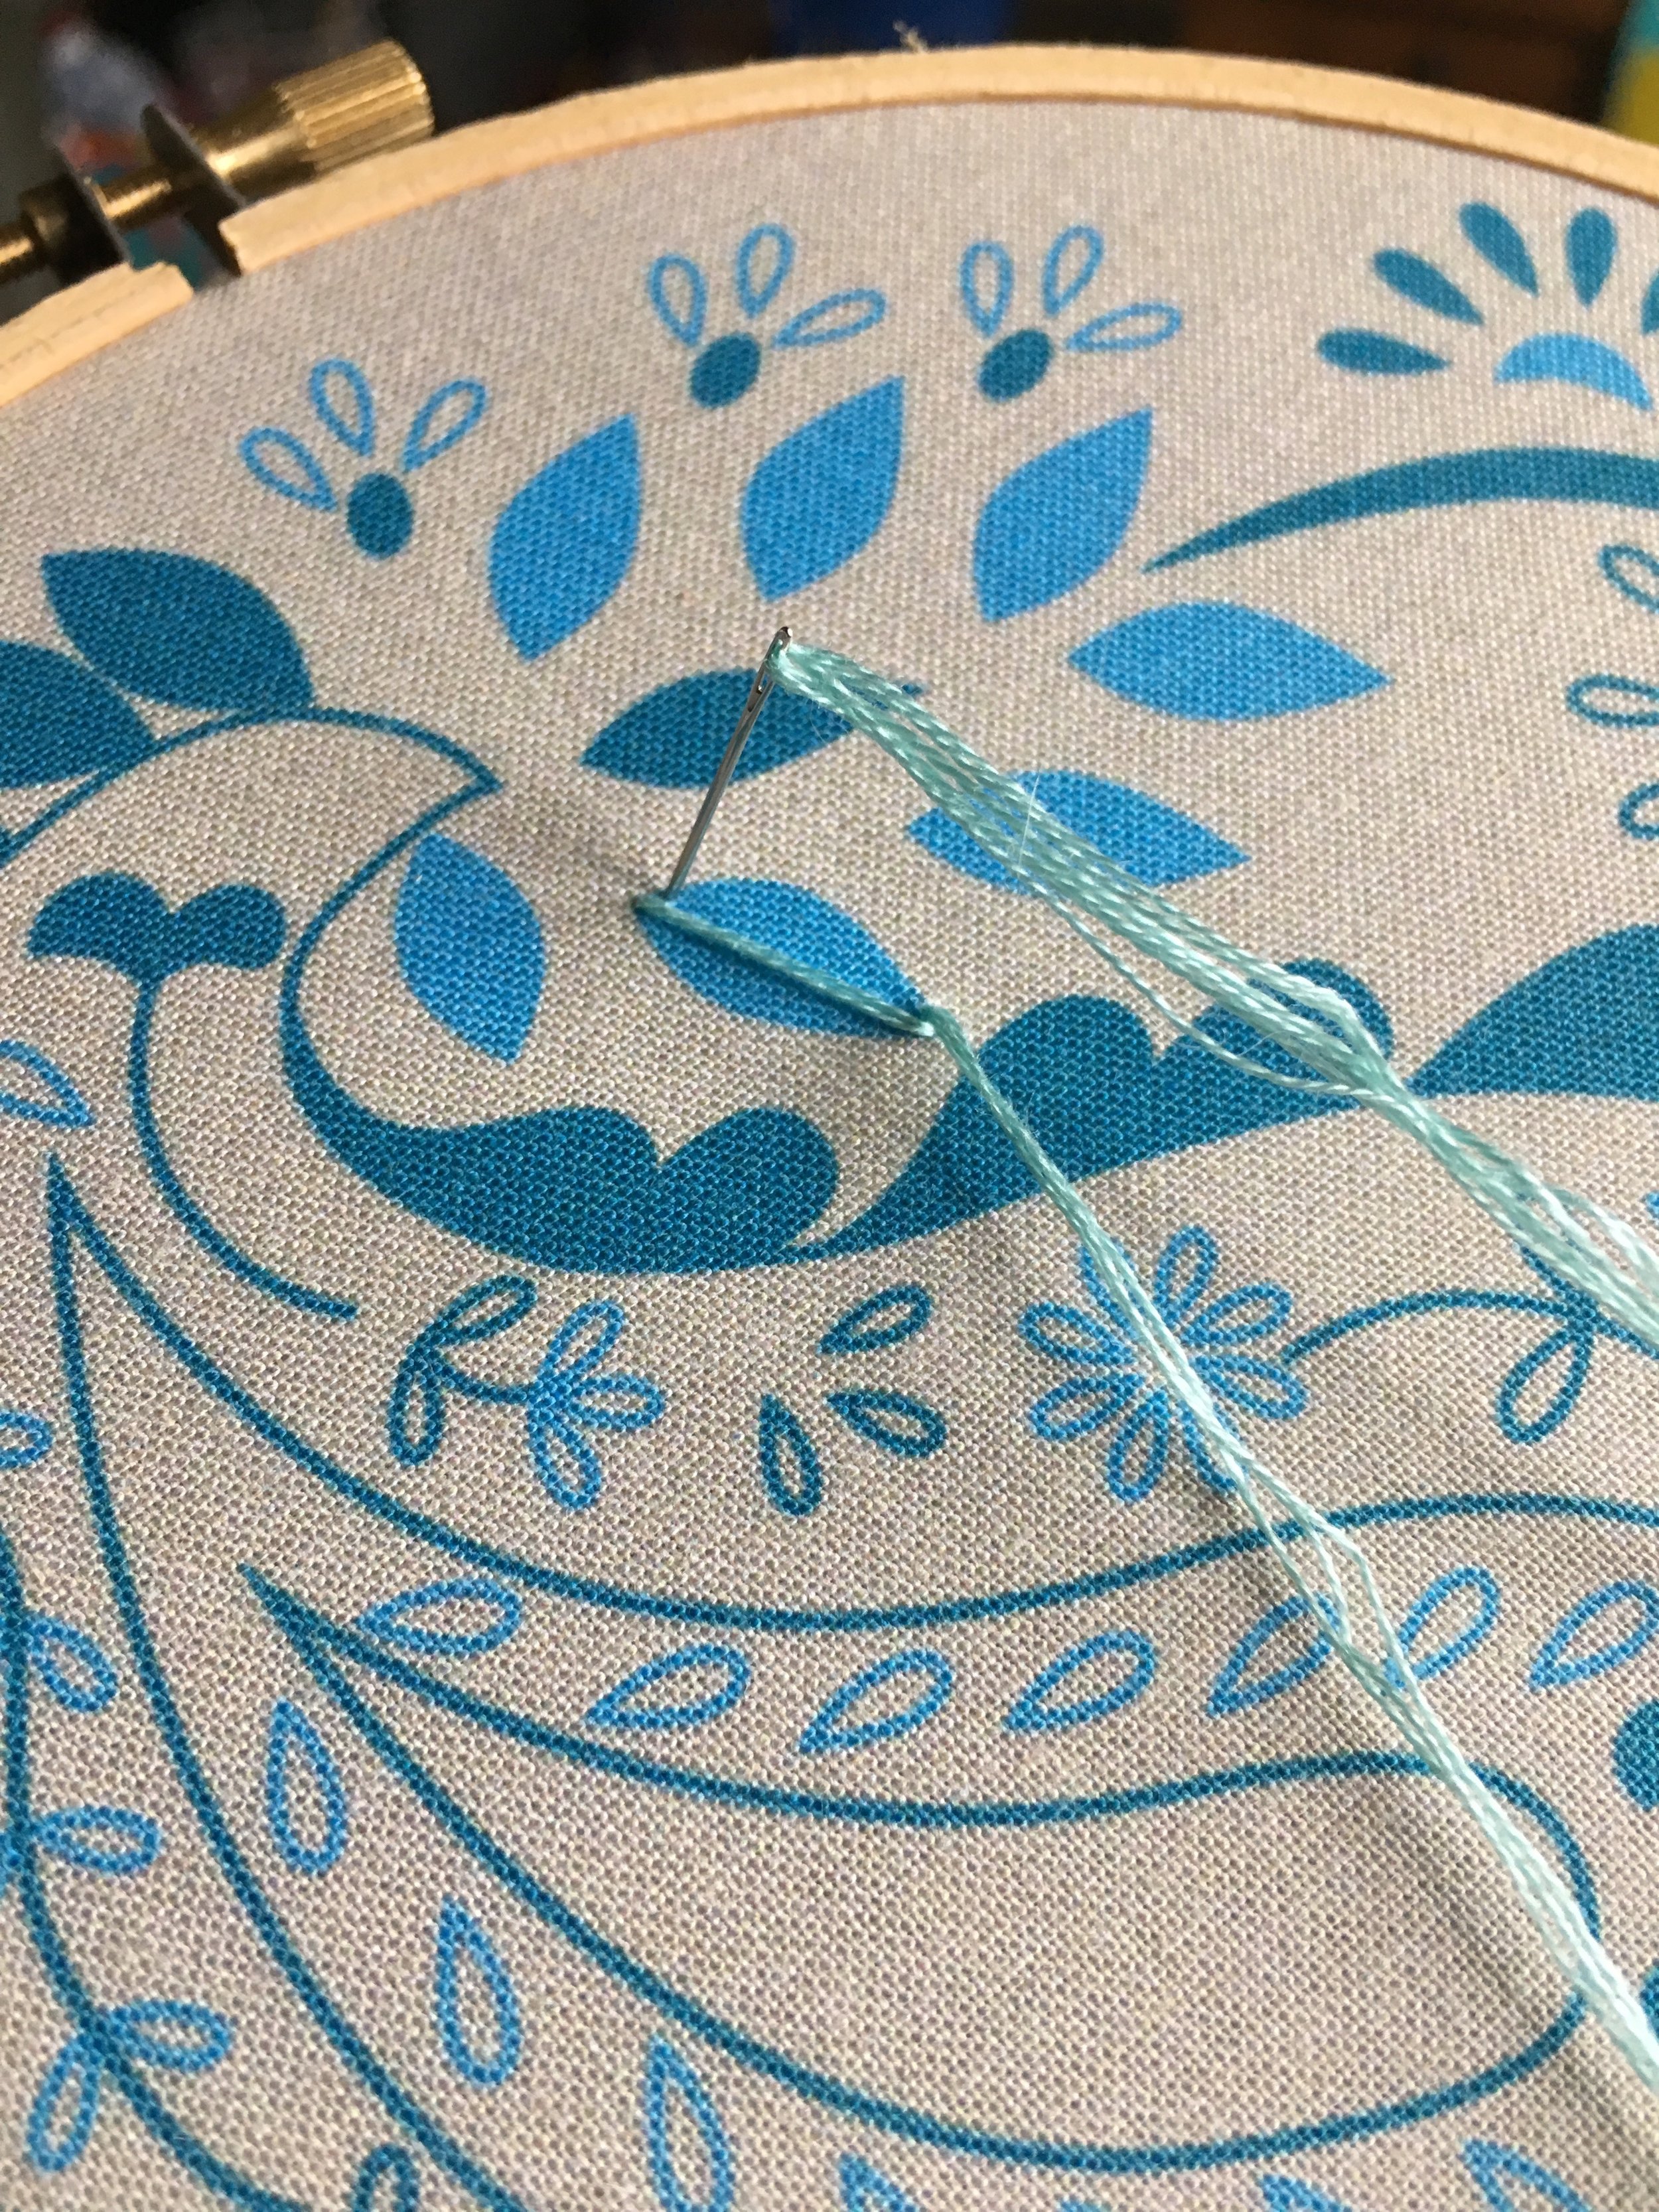
Satin Stitch

Satin stitch on pre printed fabric is a breeze.
Bring your needle through on the edge or just outside the edge of the printed shape. Try to keep your stitches parallel.


Back Stitch

Back stitch is really simple stitch that is great for outlining shapes. I usually use it after satin stitch.
If you are right handed you will make your first stitch to the left and move your needle one stitch ahead and end touching the first stitch. Try to keep your stitches small and even especially on curves.


Zig Zag Back Stitch is done the same way but stitches are at an angle as you go.
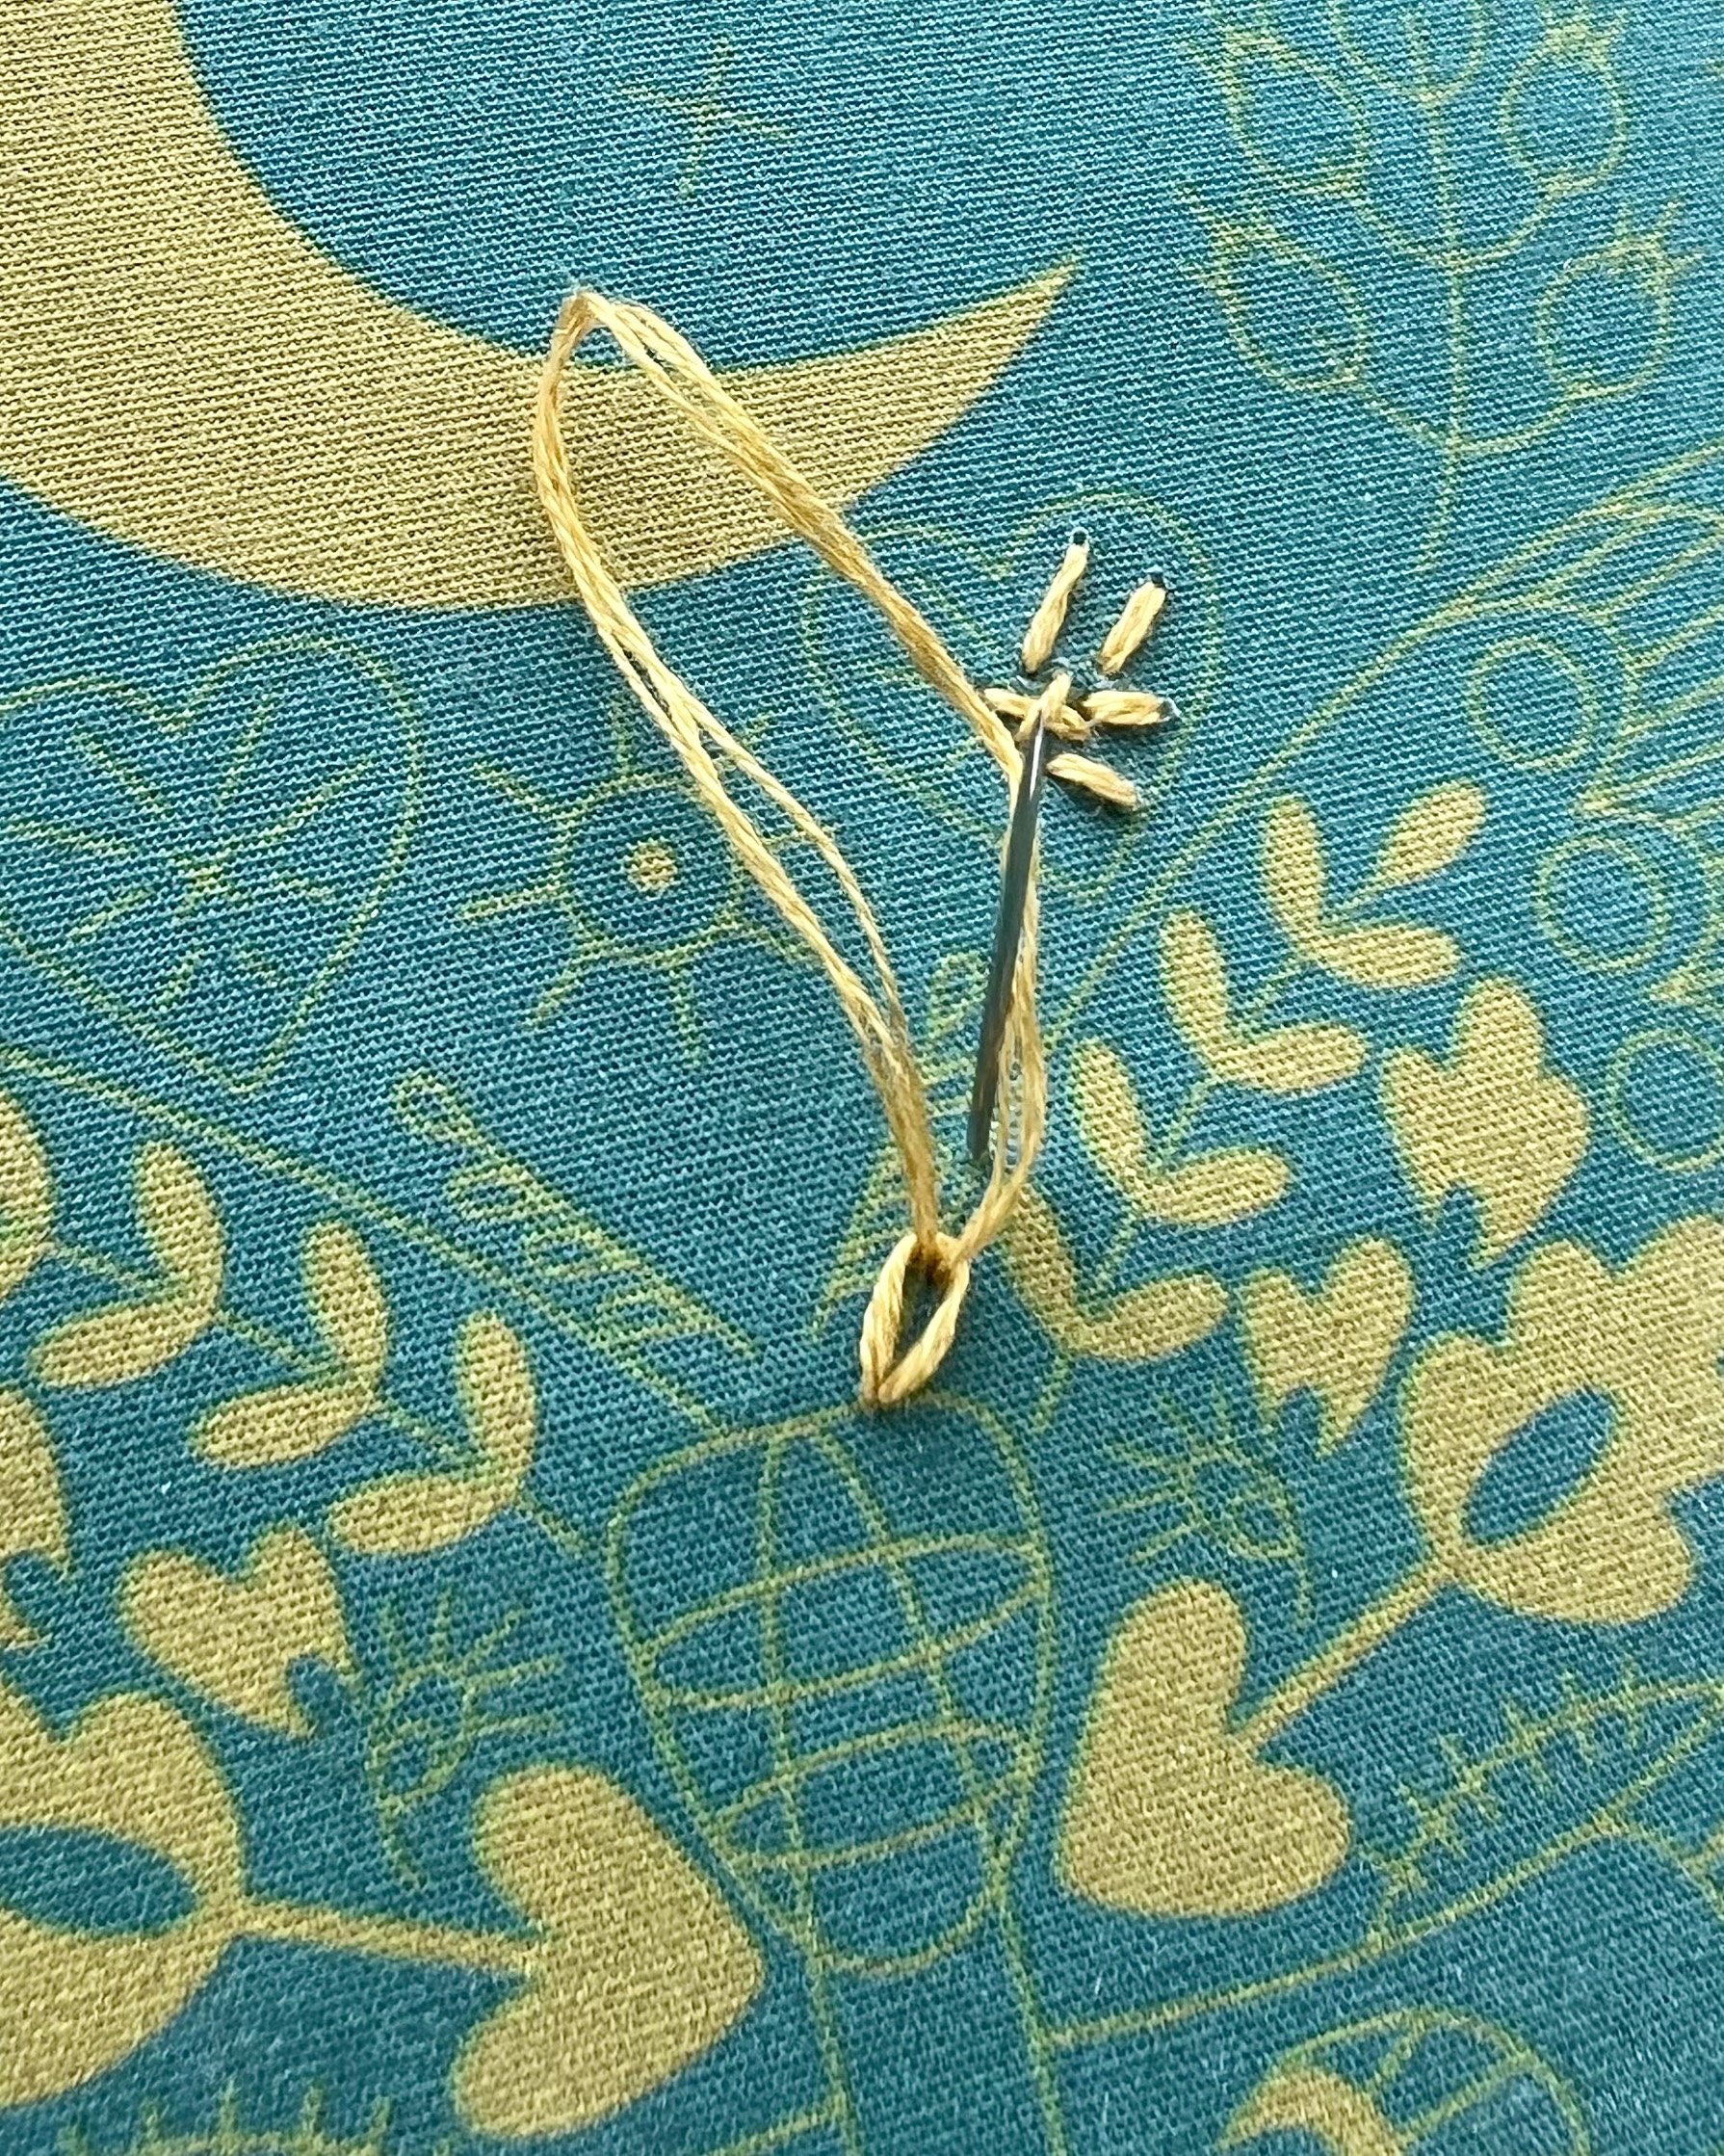
Daisy Stitch
Daisy Stitch is often used for petal shapes. It can be used singly or as a chain.
Bring your needle up at the tip. Bring your needle back to that same spot but don't pull all the way through. bring the needle up through the fabric where you want the top of the stitch to be. Pull the thread through but not to tight. Insert your needle just to the other side of the top of your loop to secure it. If you are making a daisy chain stitch you would make a second loop instead of the small stitch and repeat as many times s you needed. Using a small stitch to secure the chain at the end.


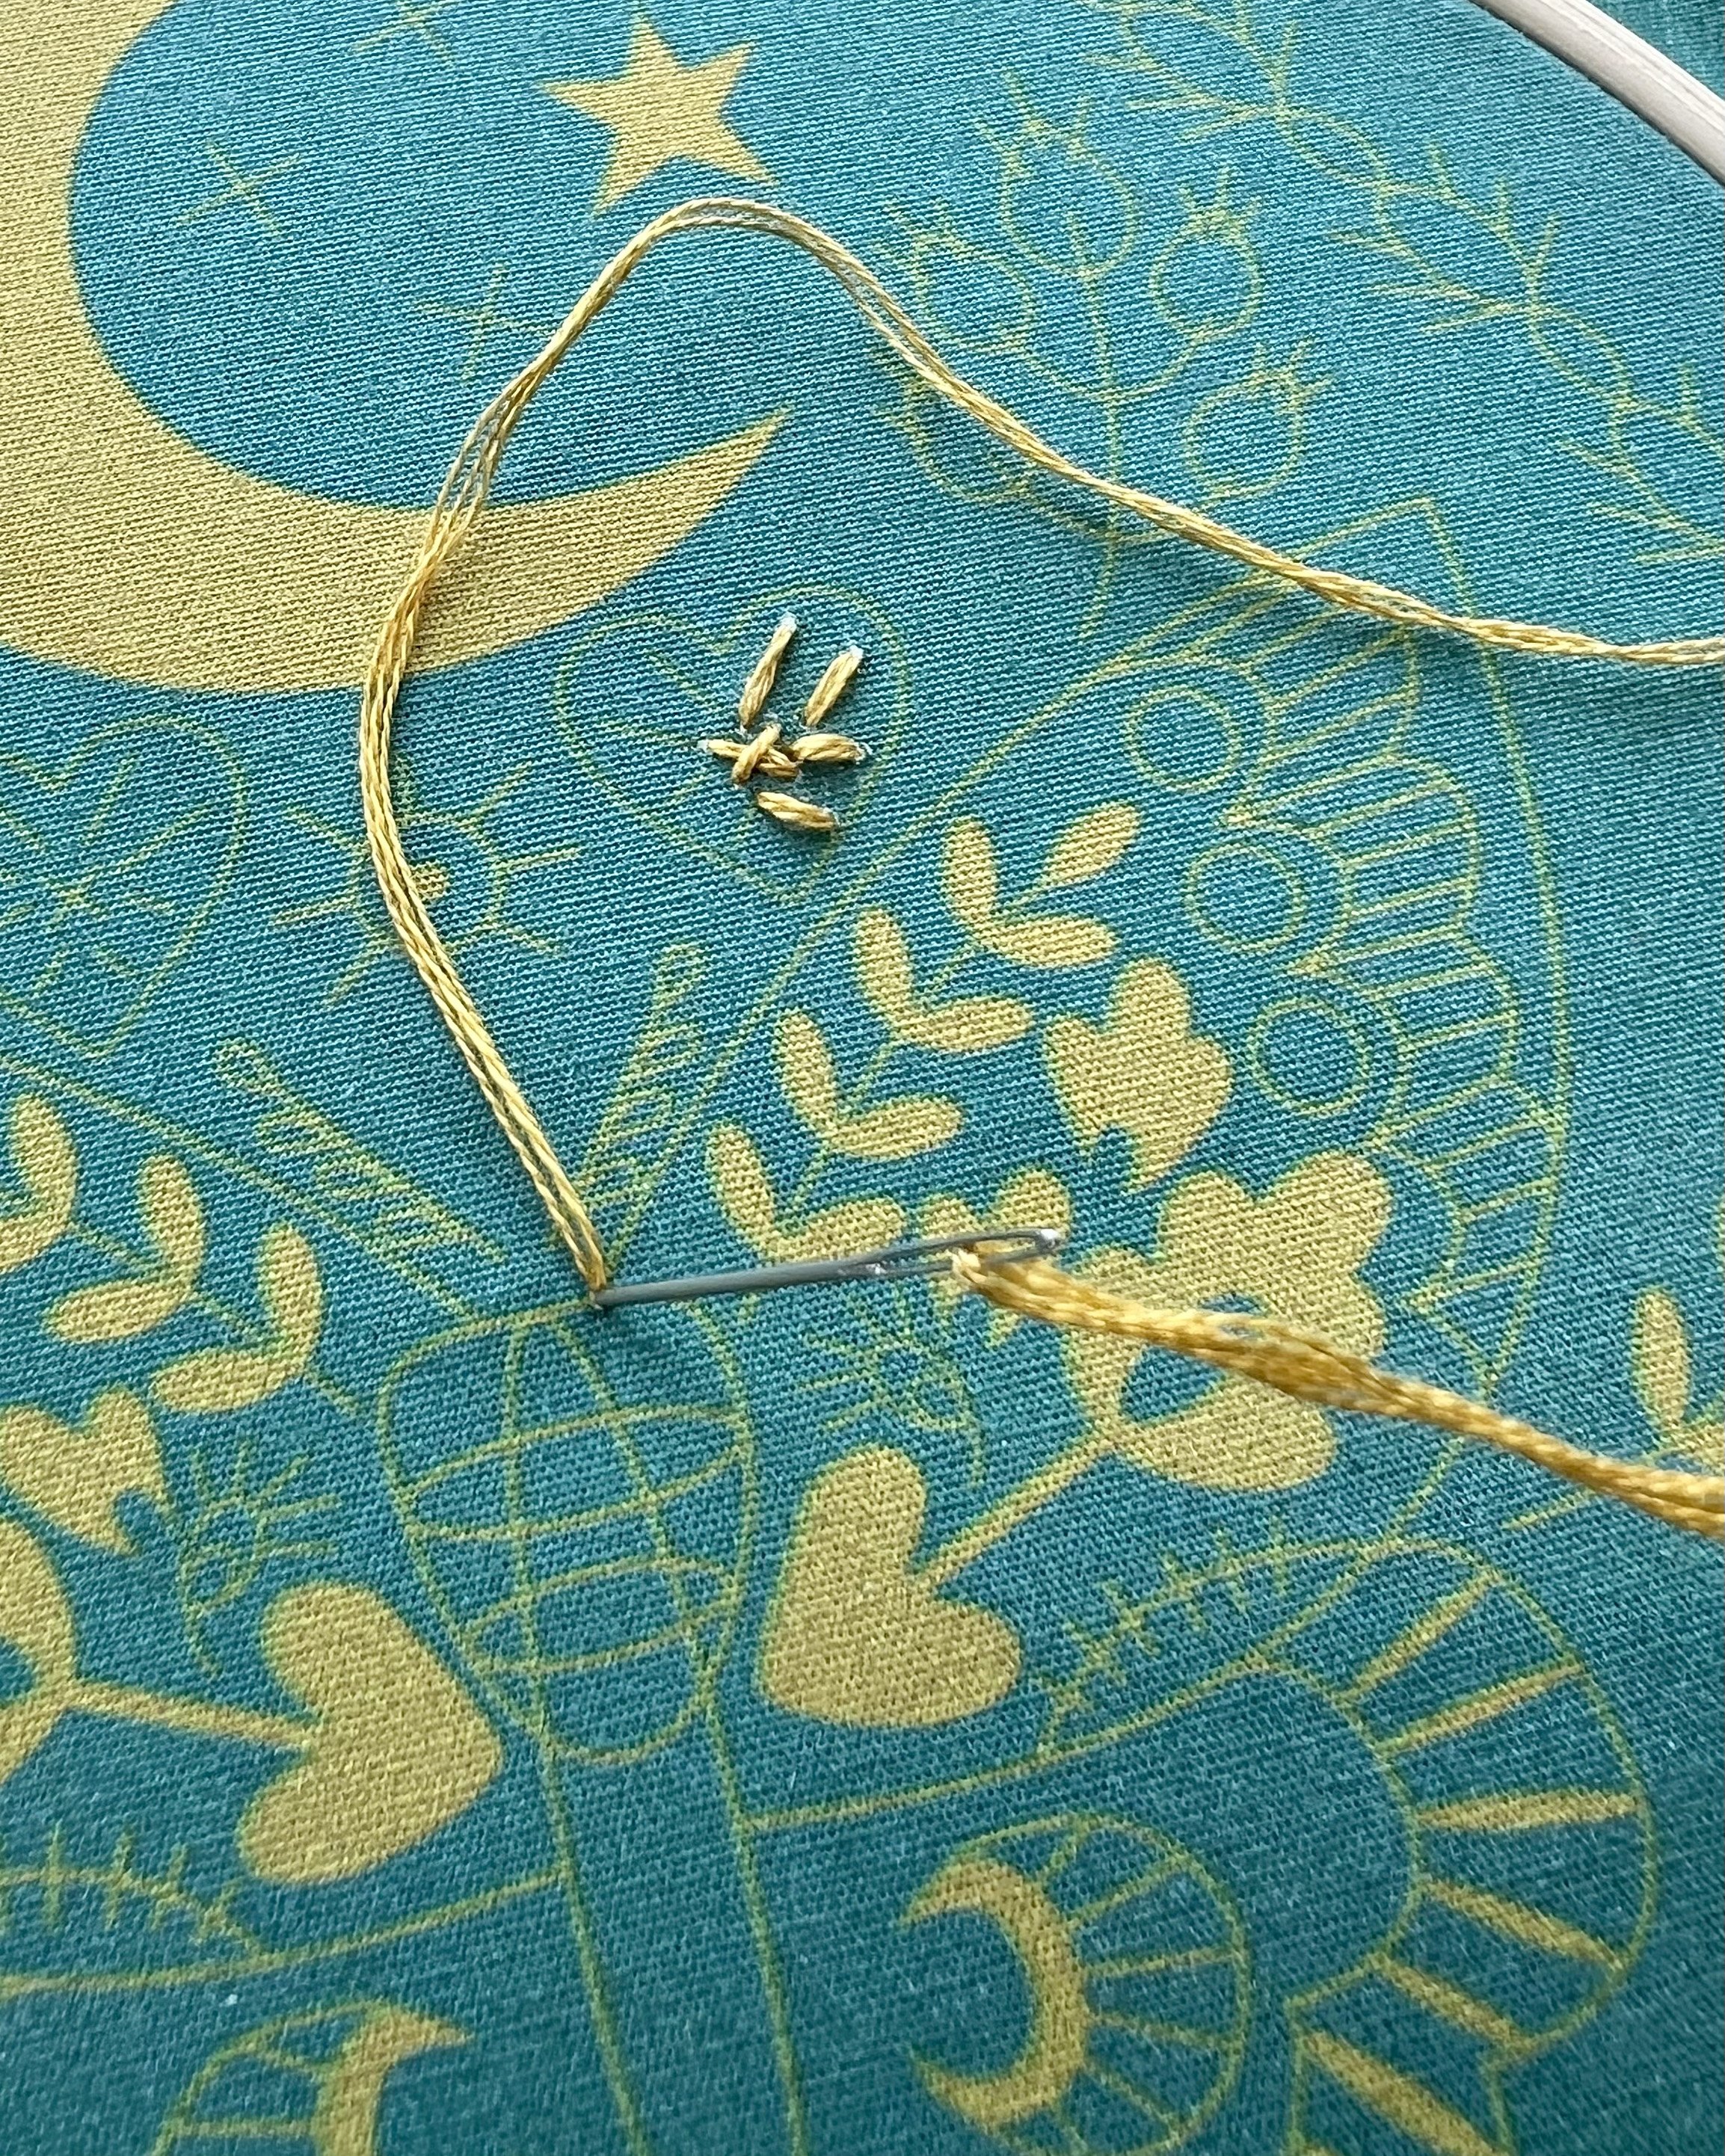
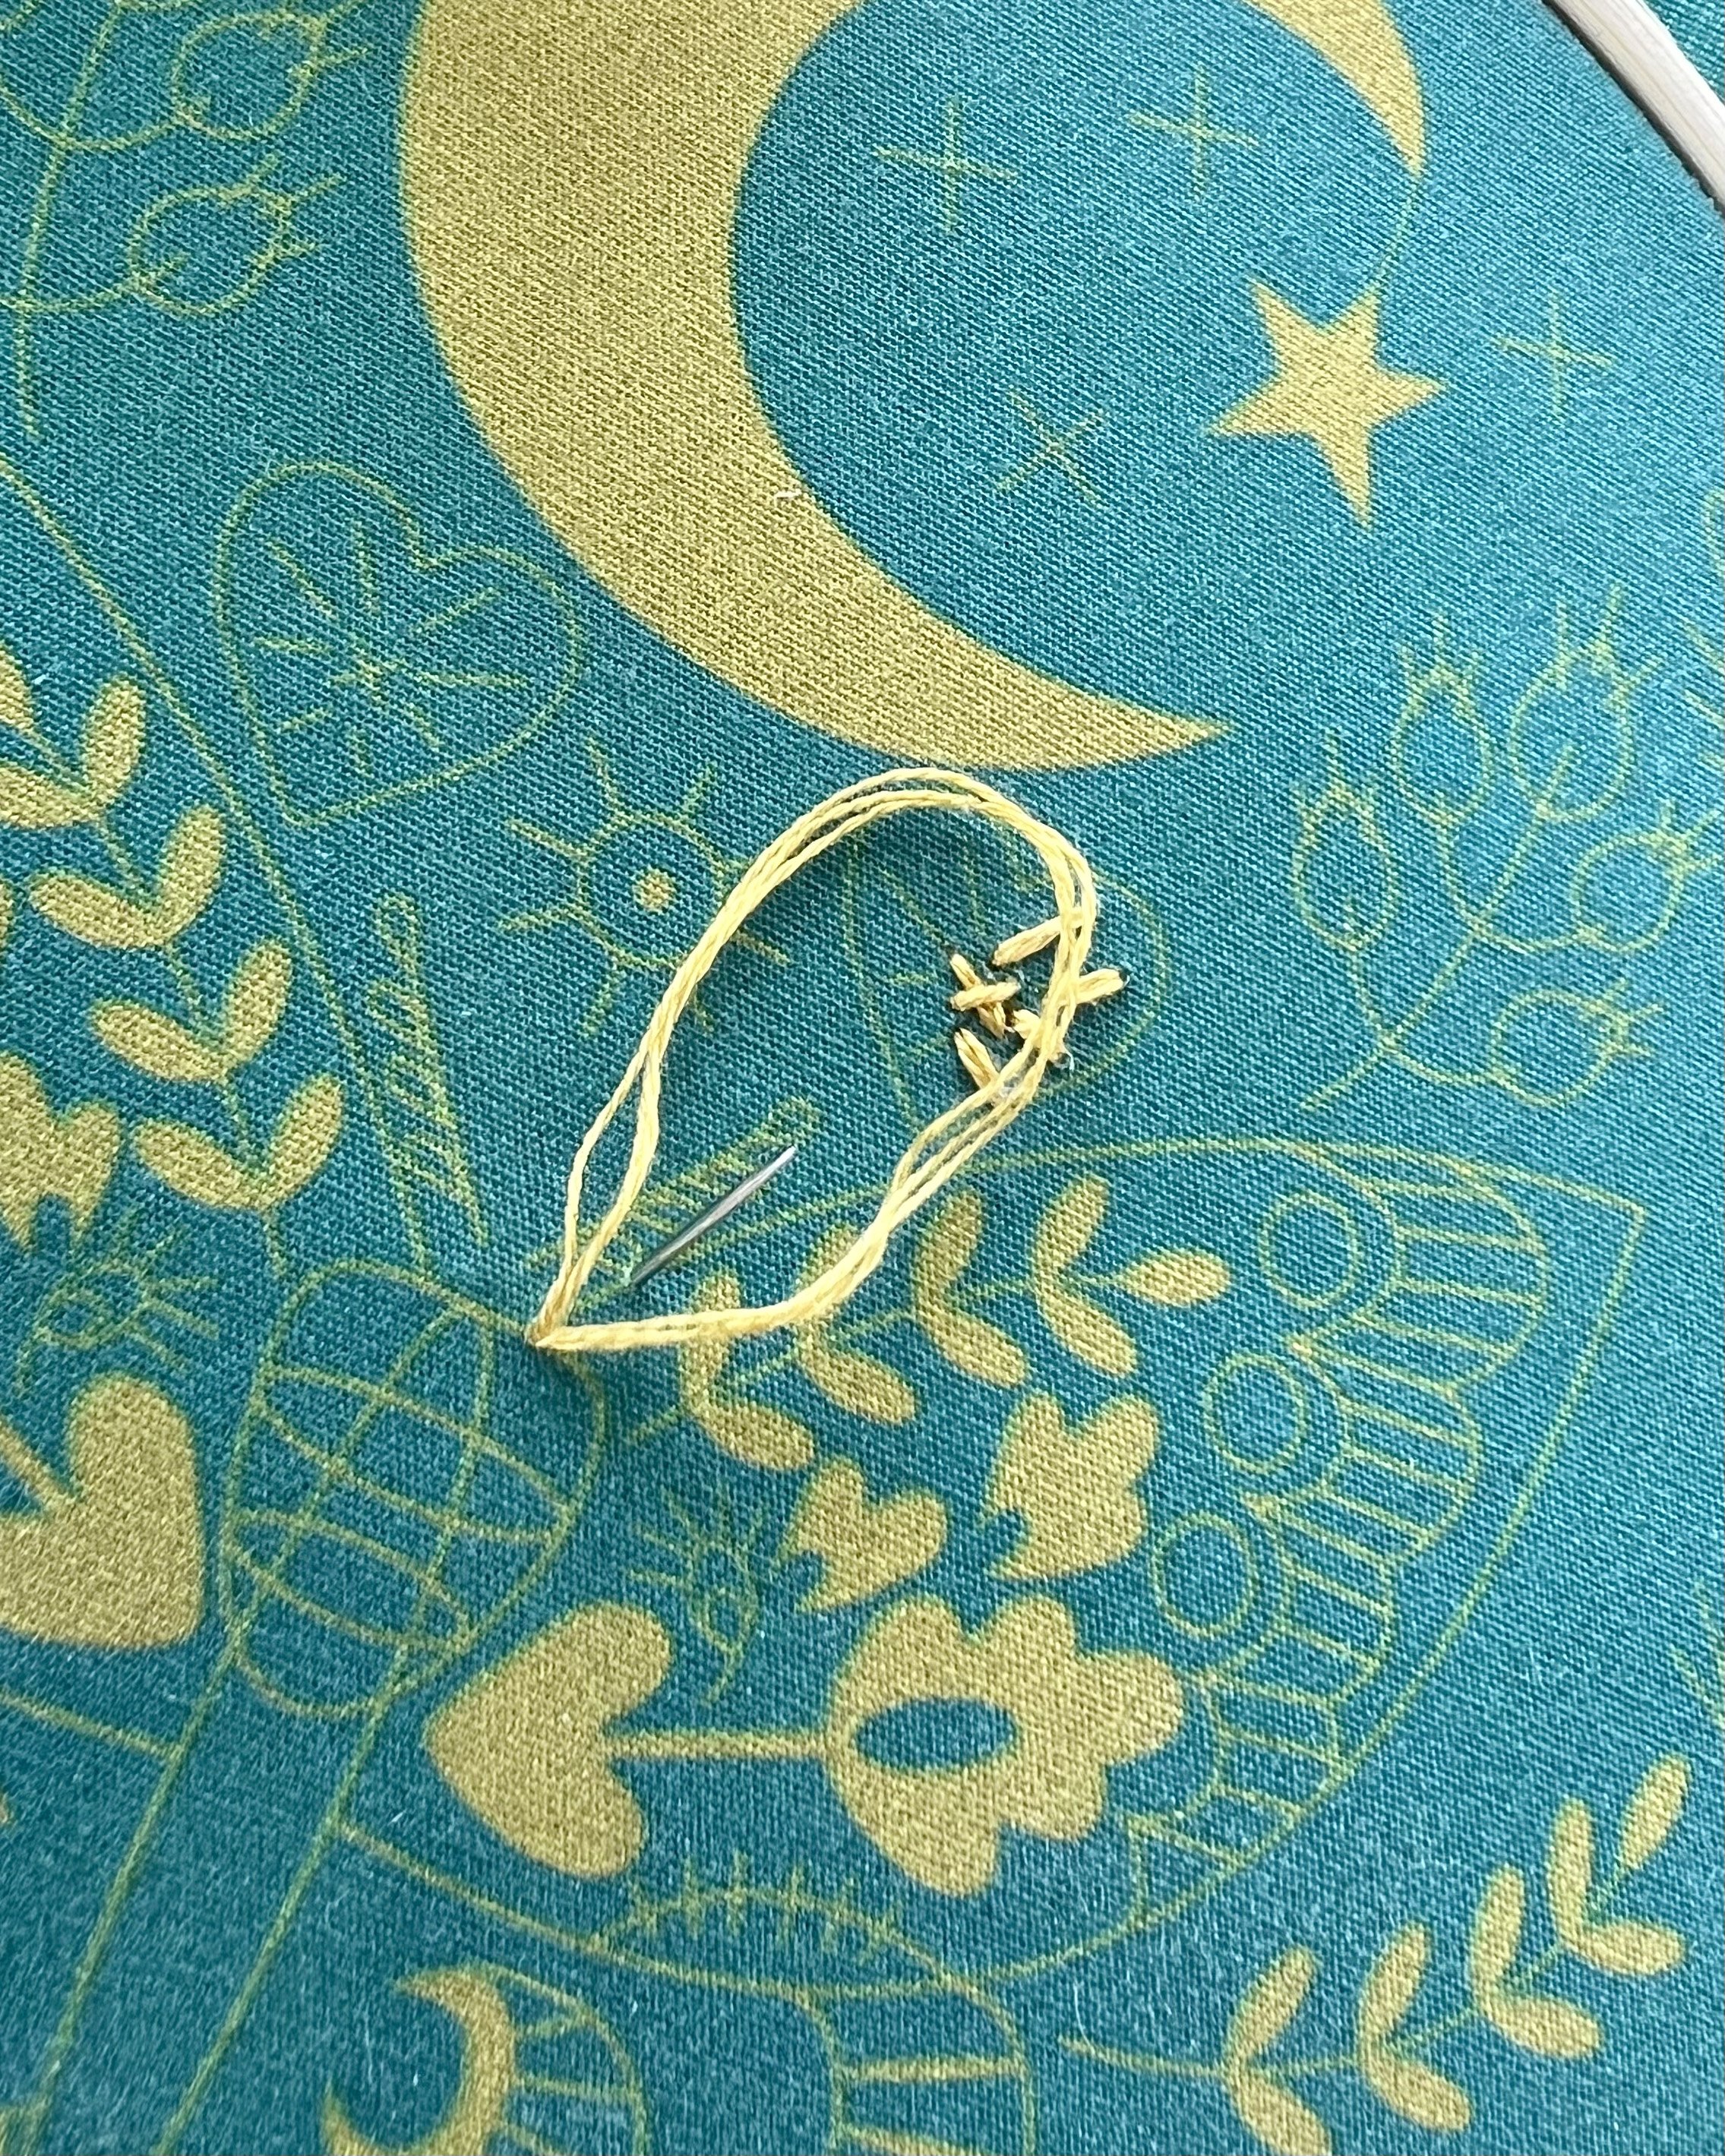
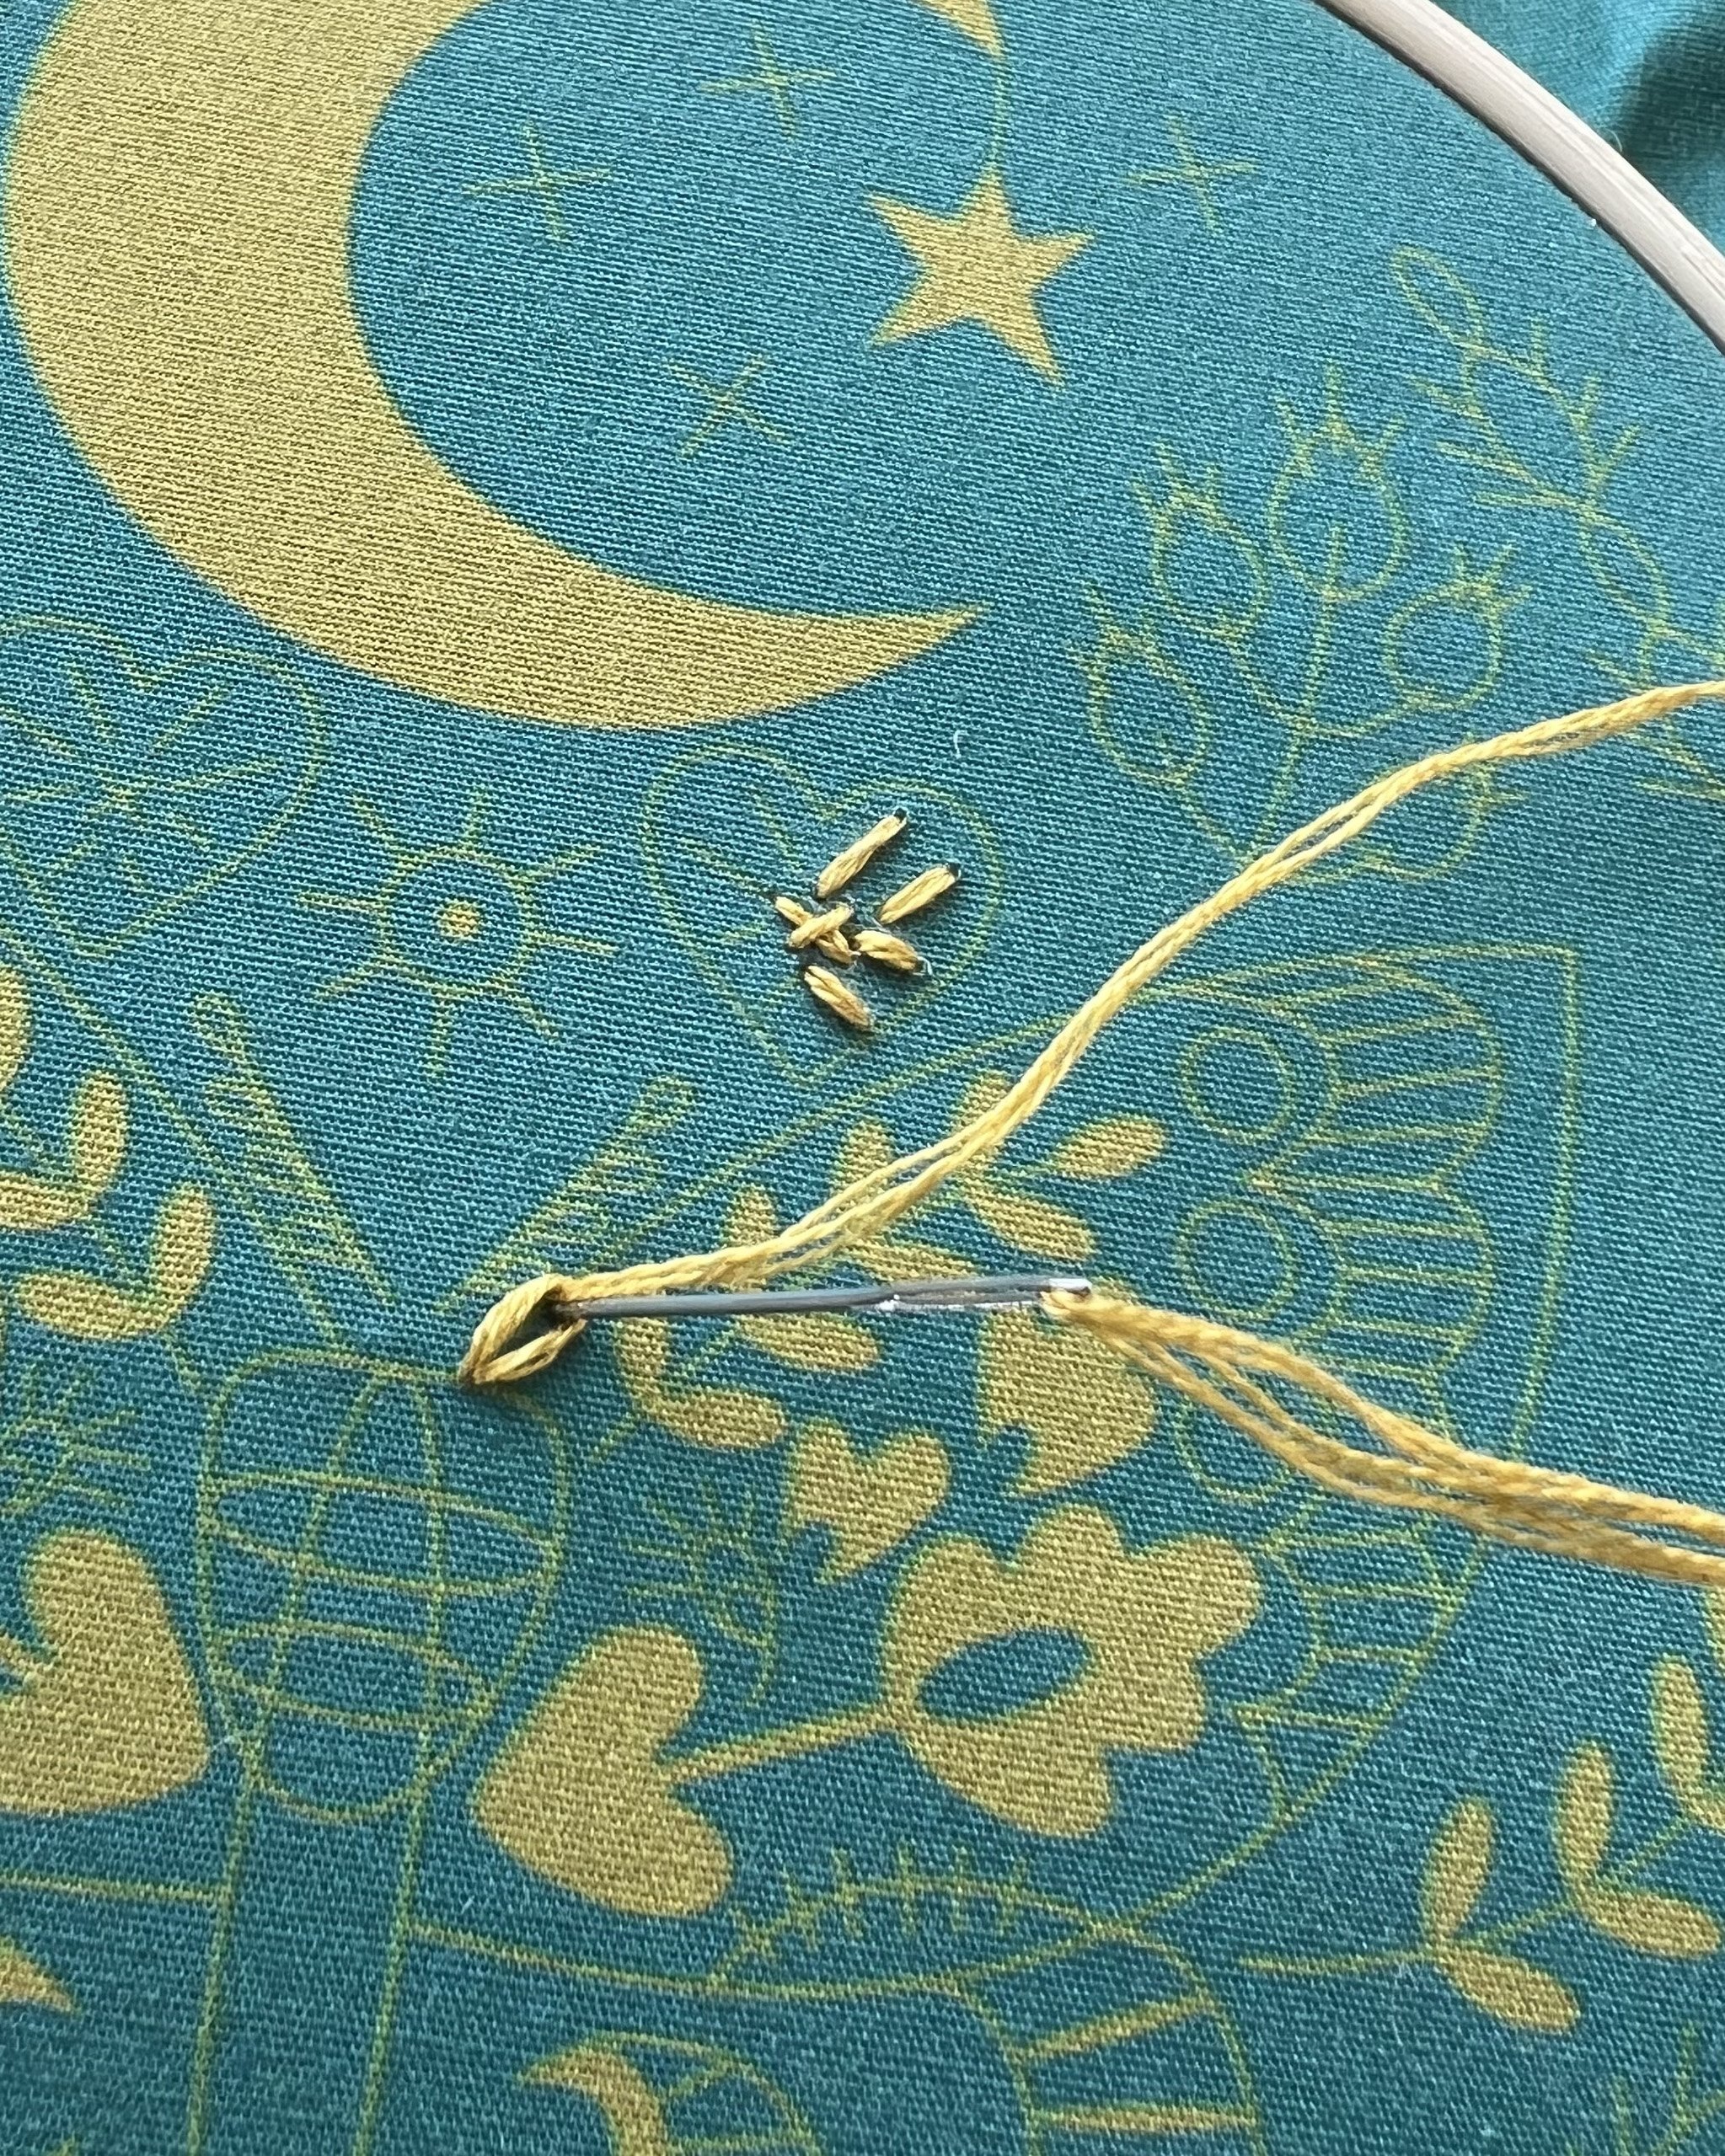
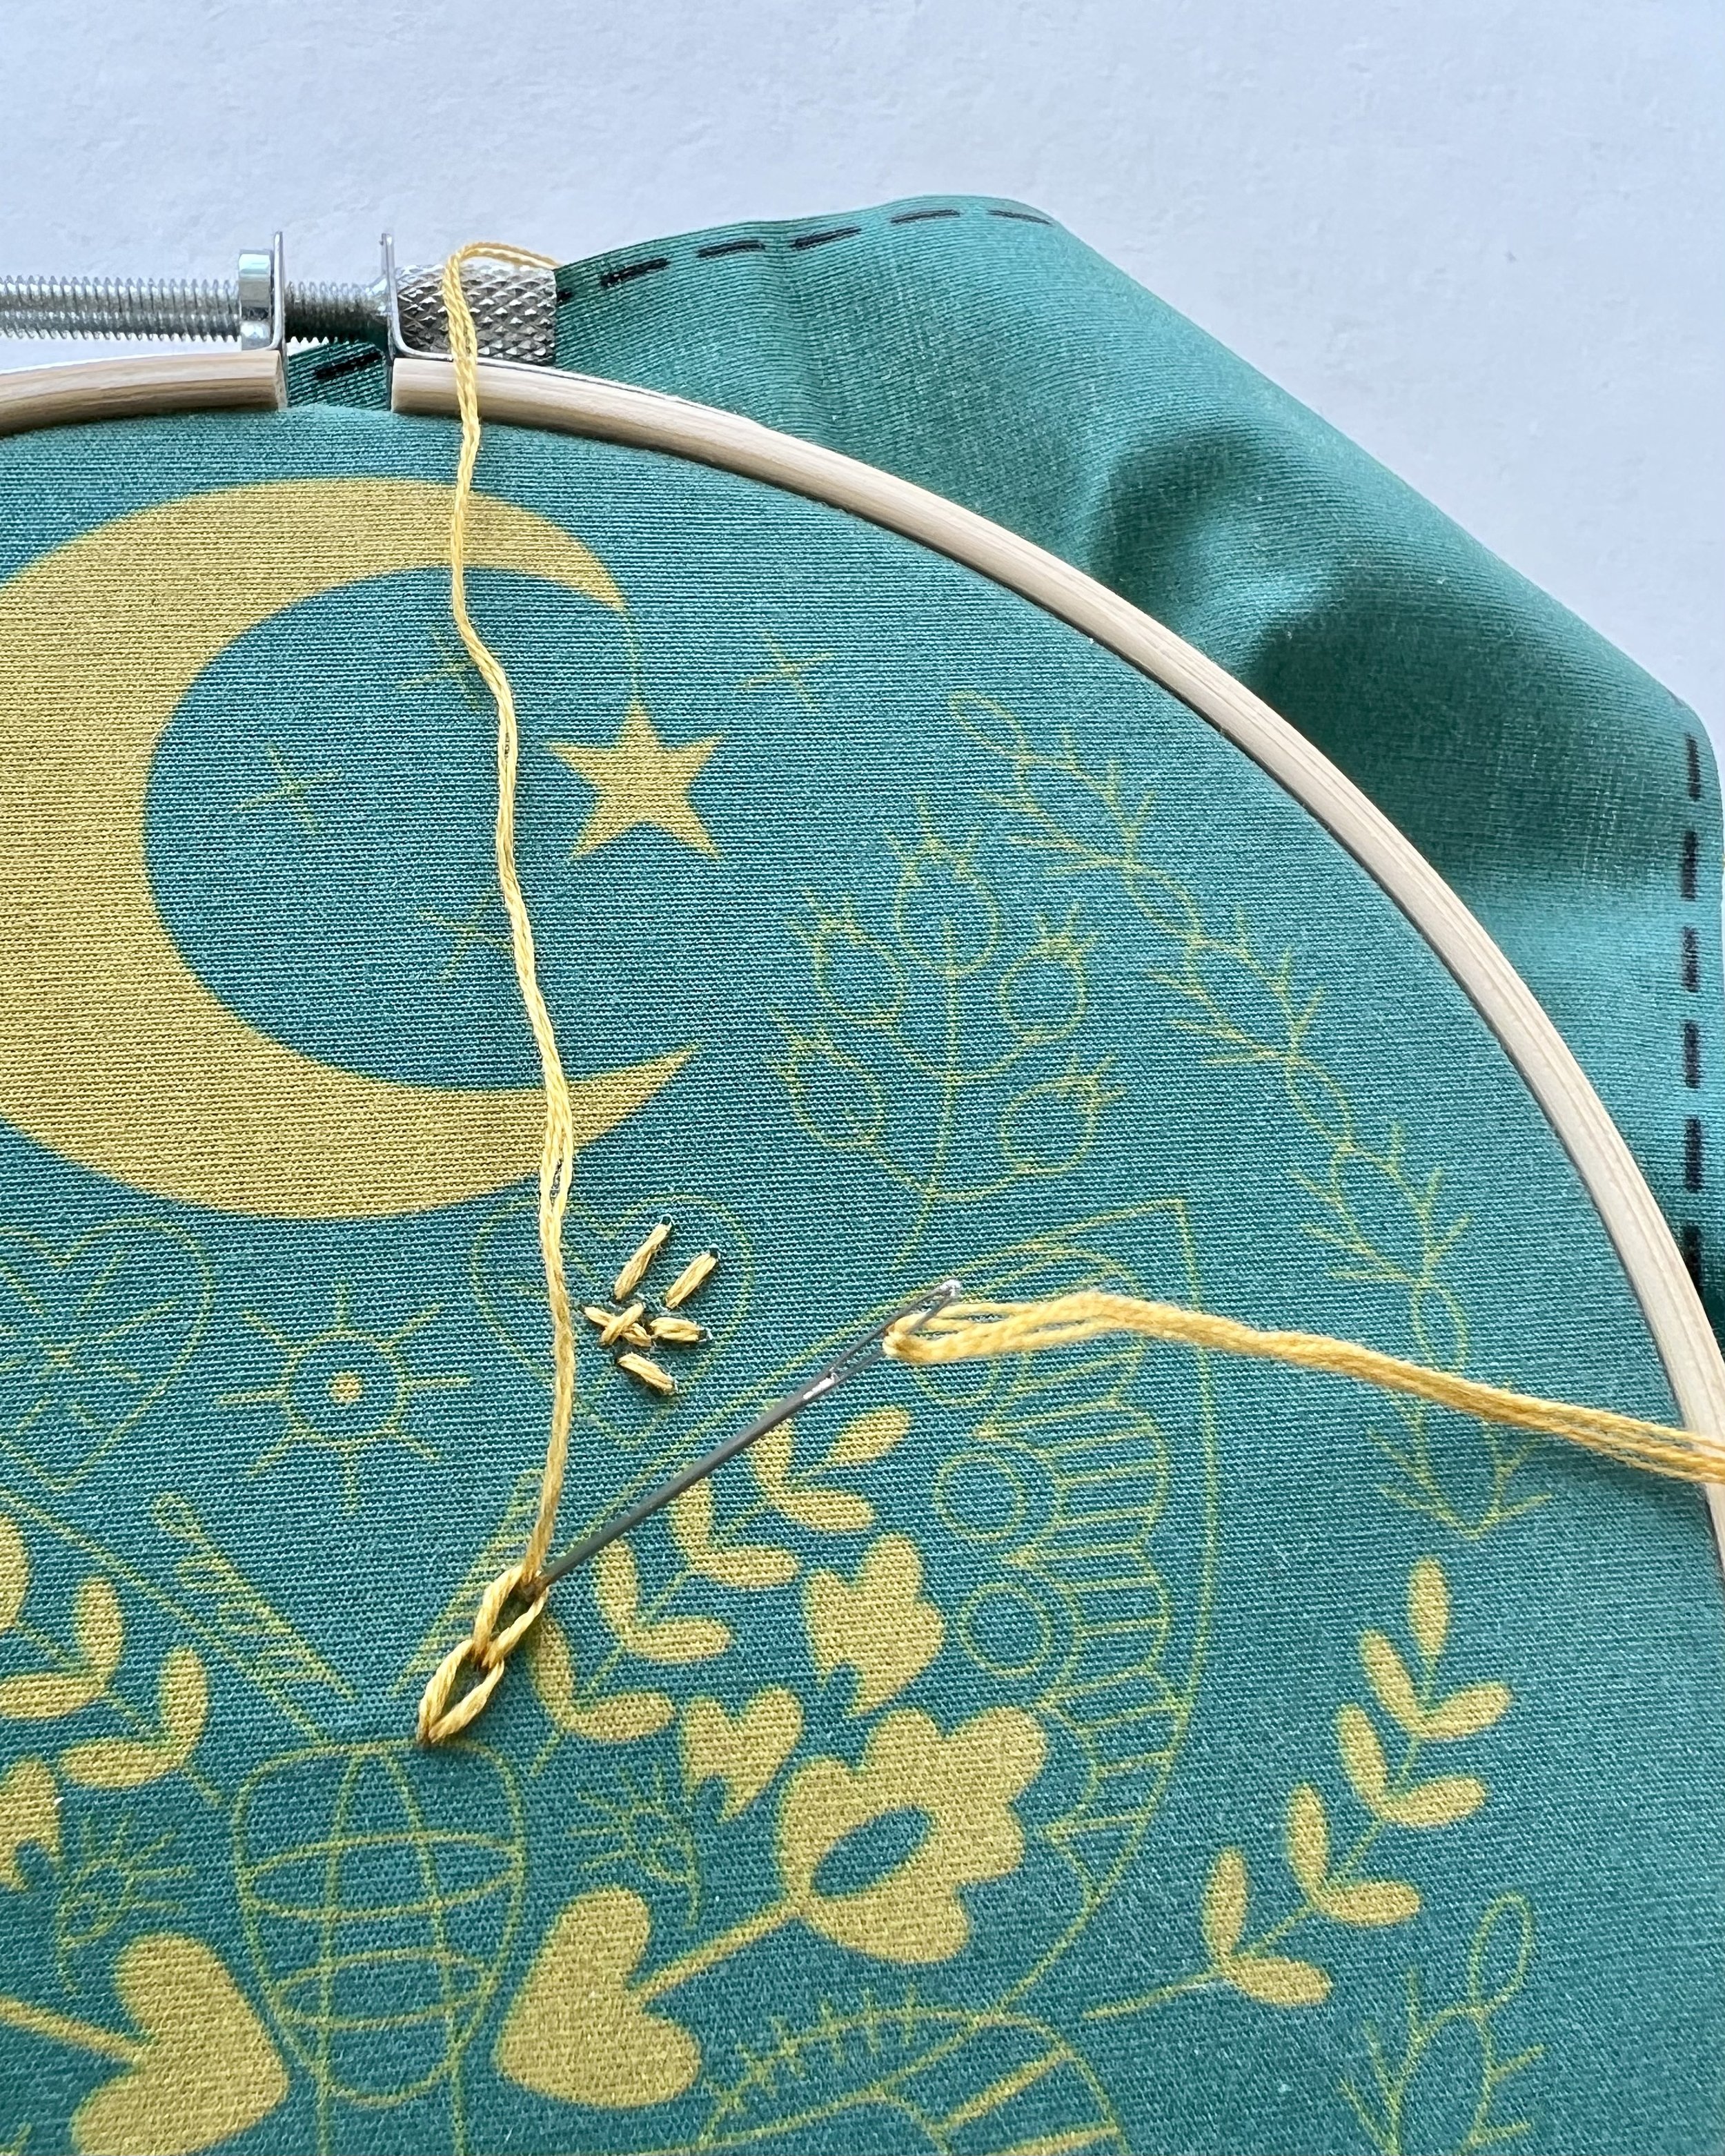
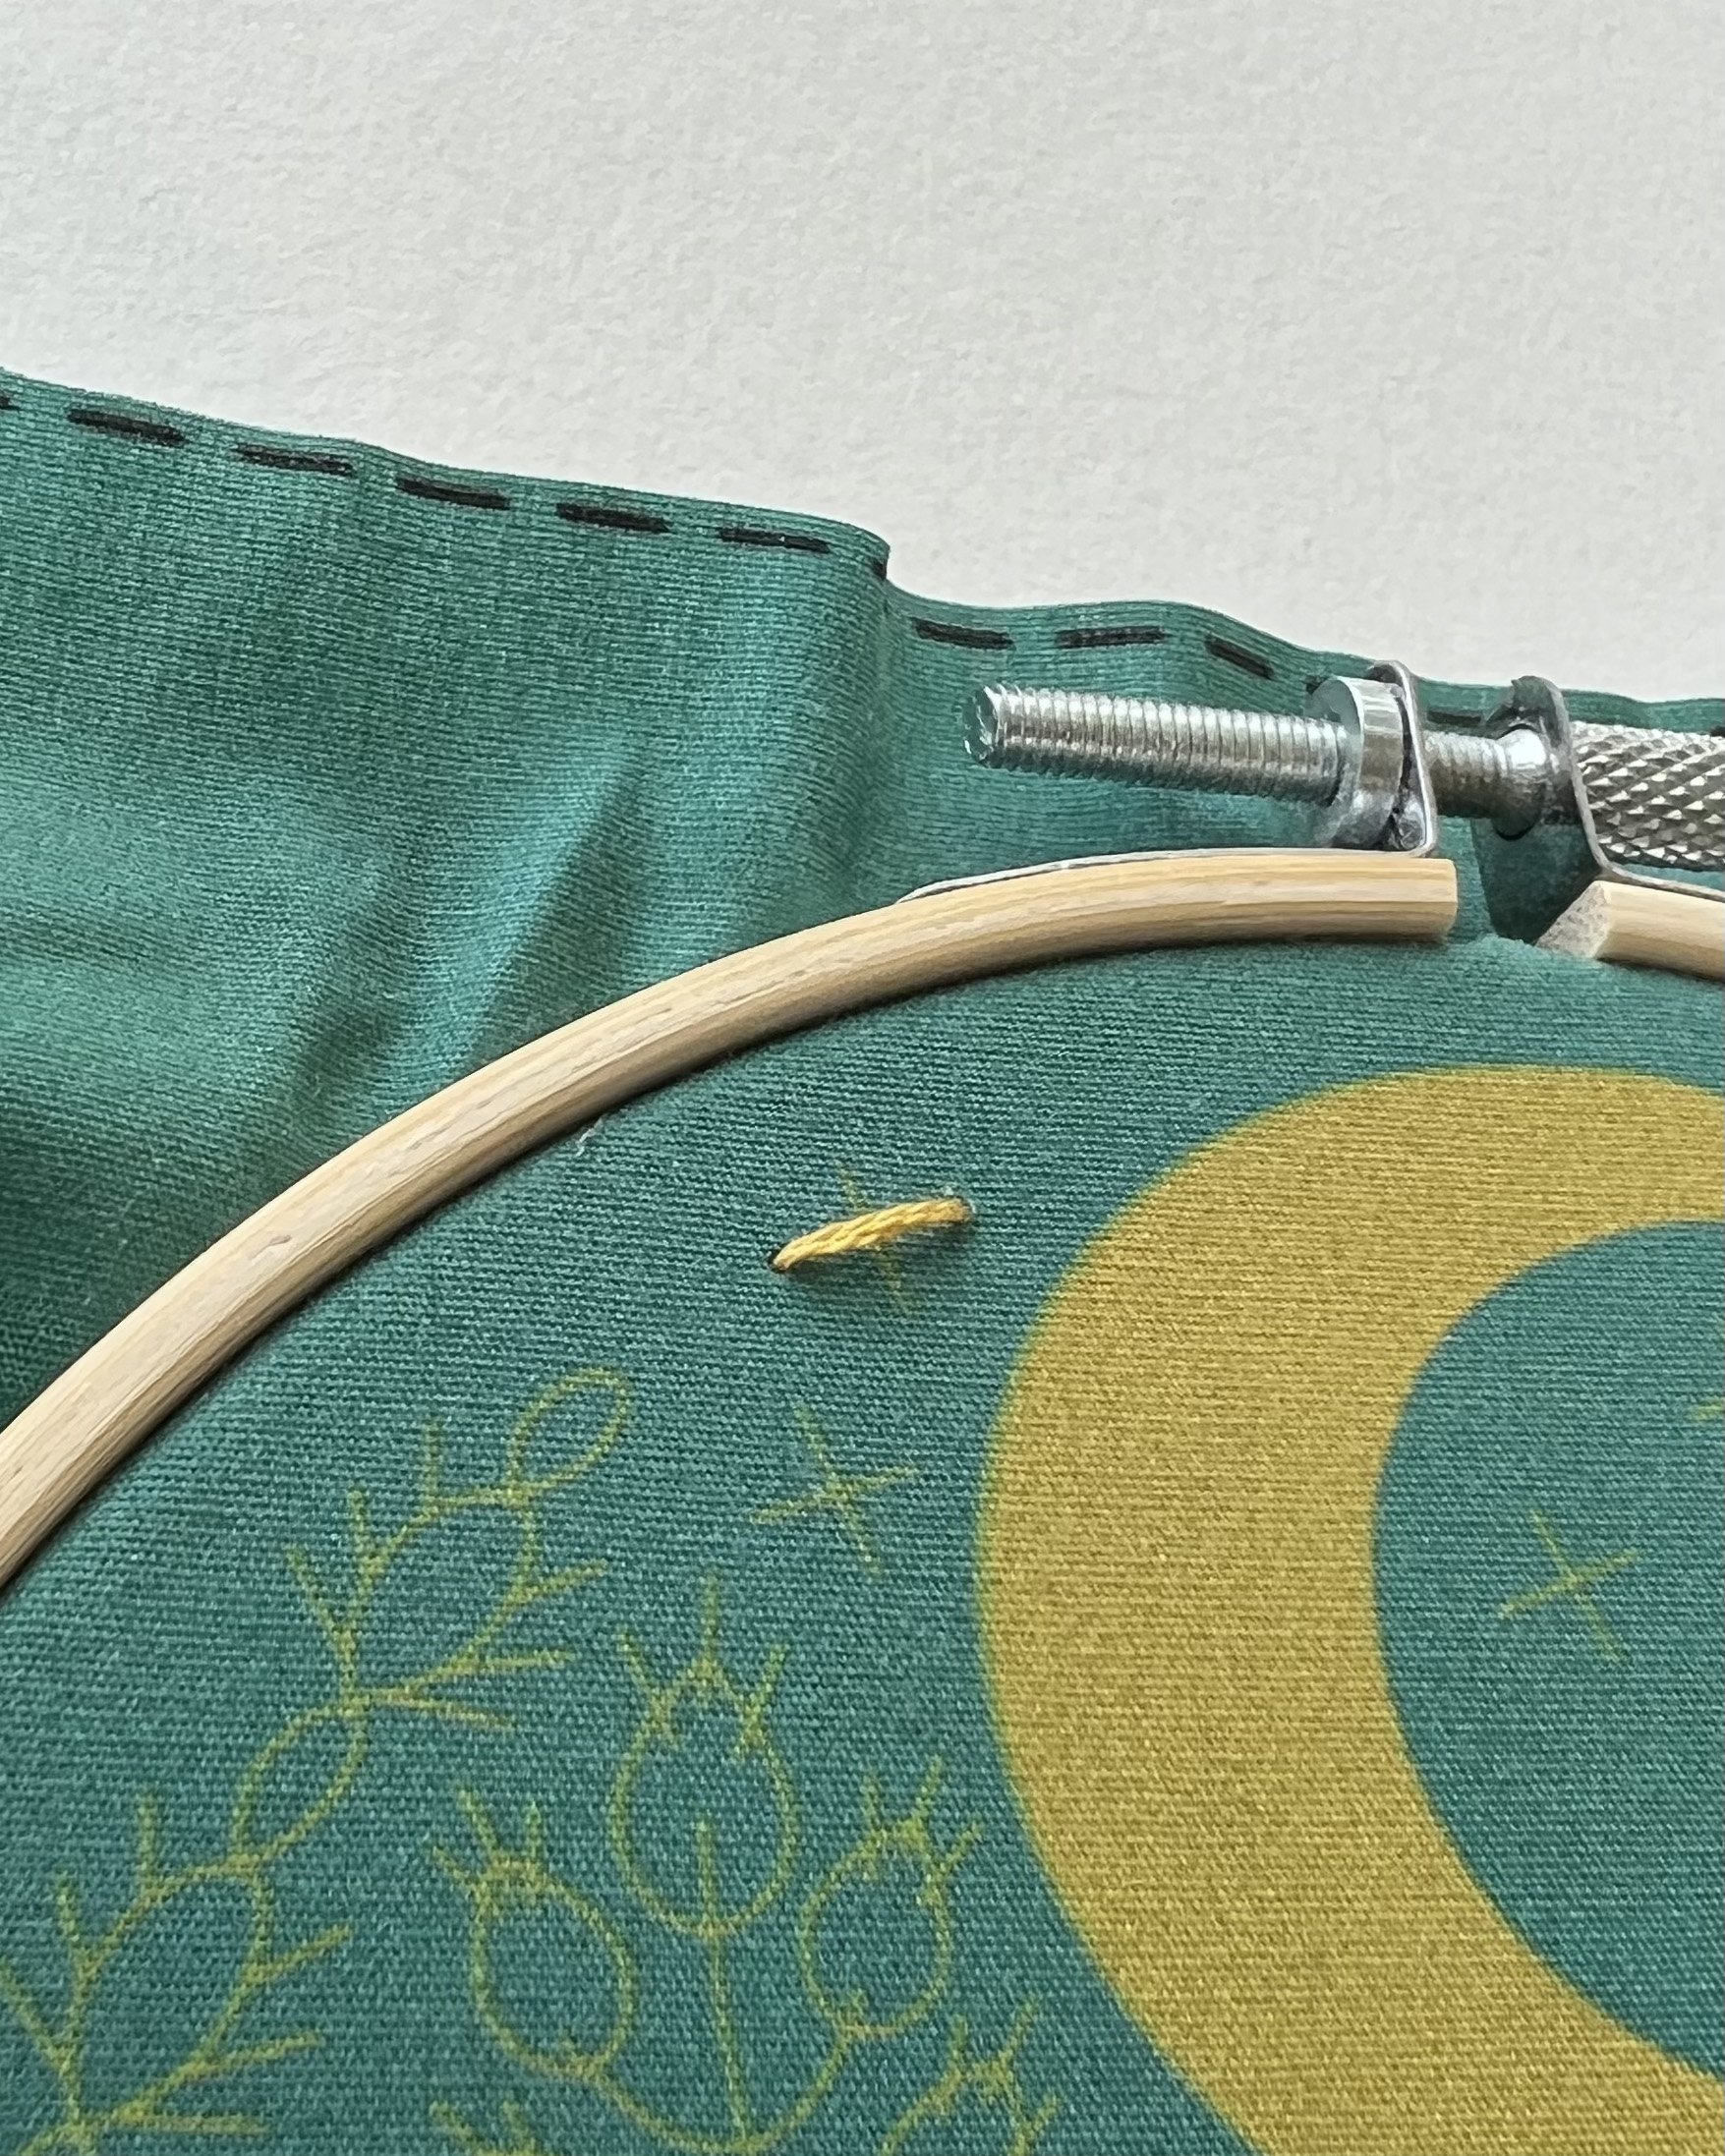
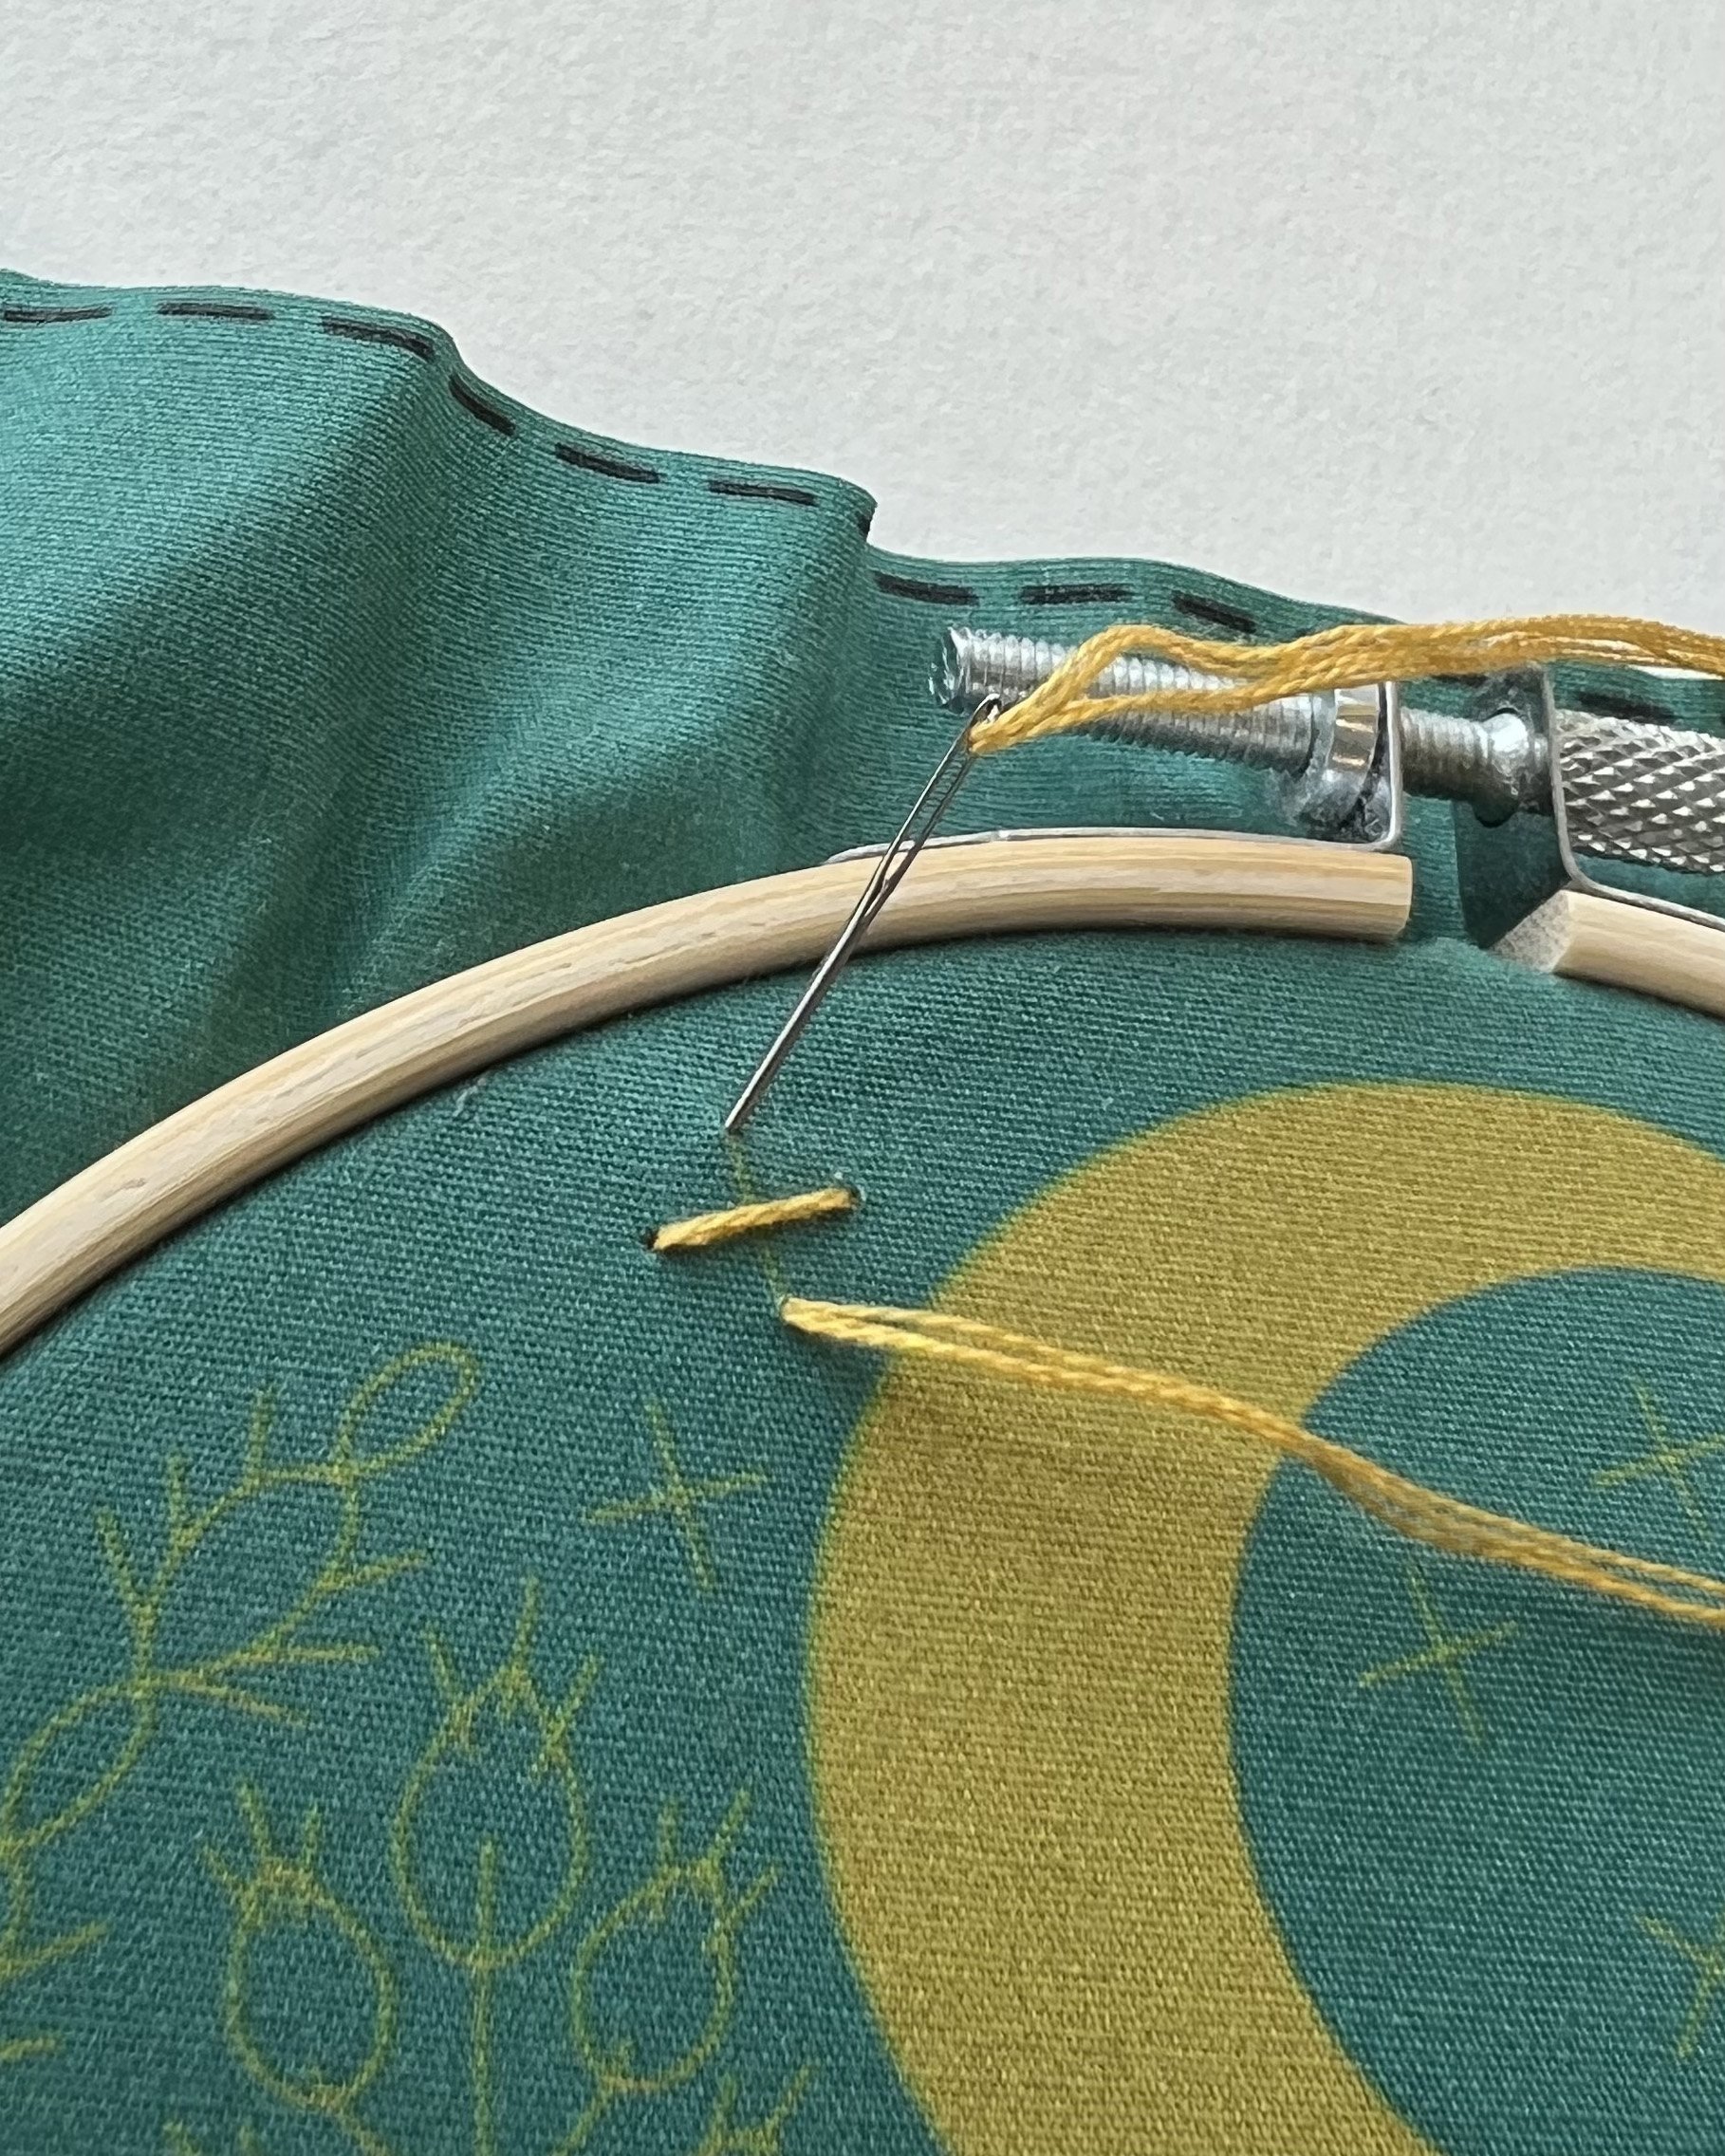
Seed Stitch

Seed Stitch is just a lonely stitch that is not attached to any other stitches.
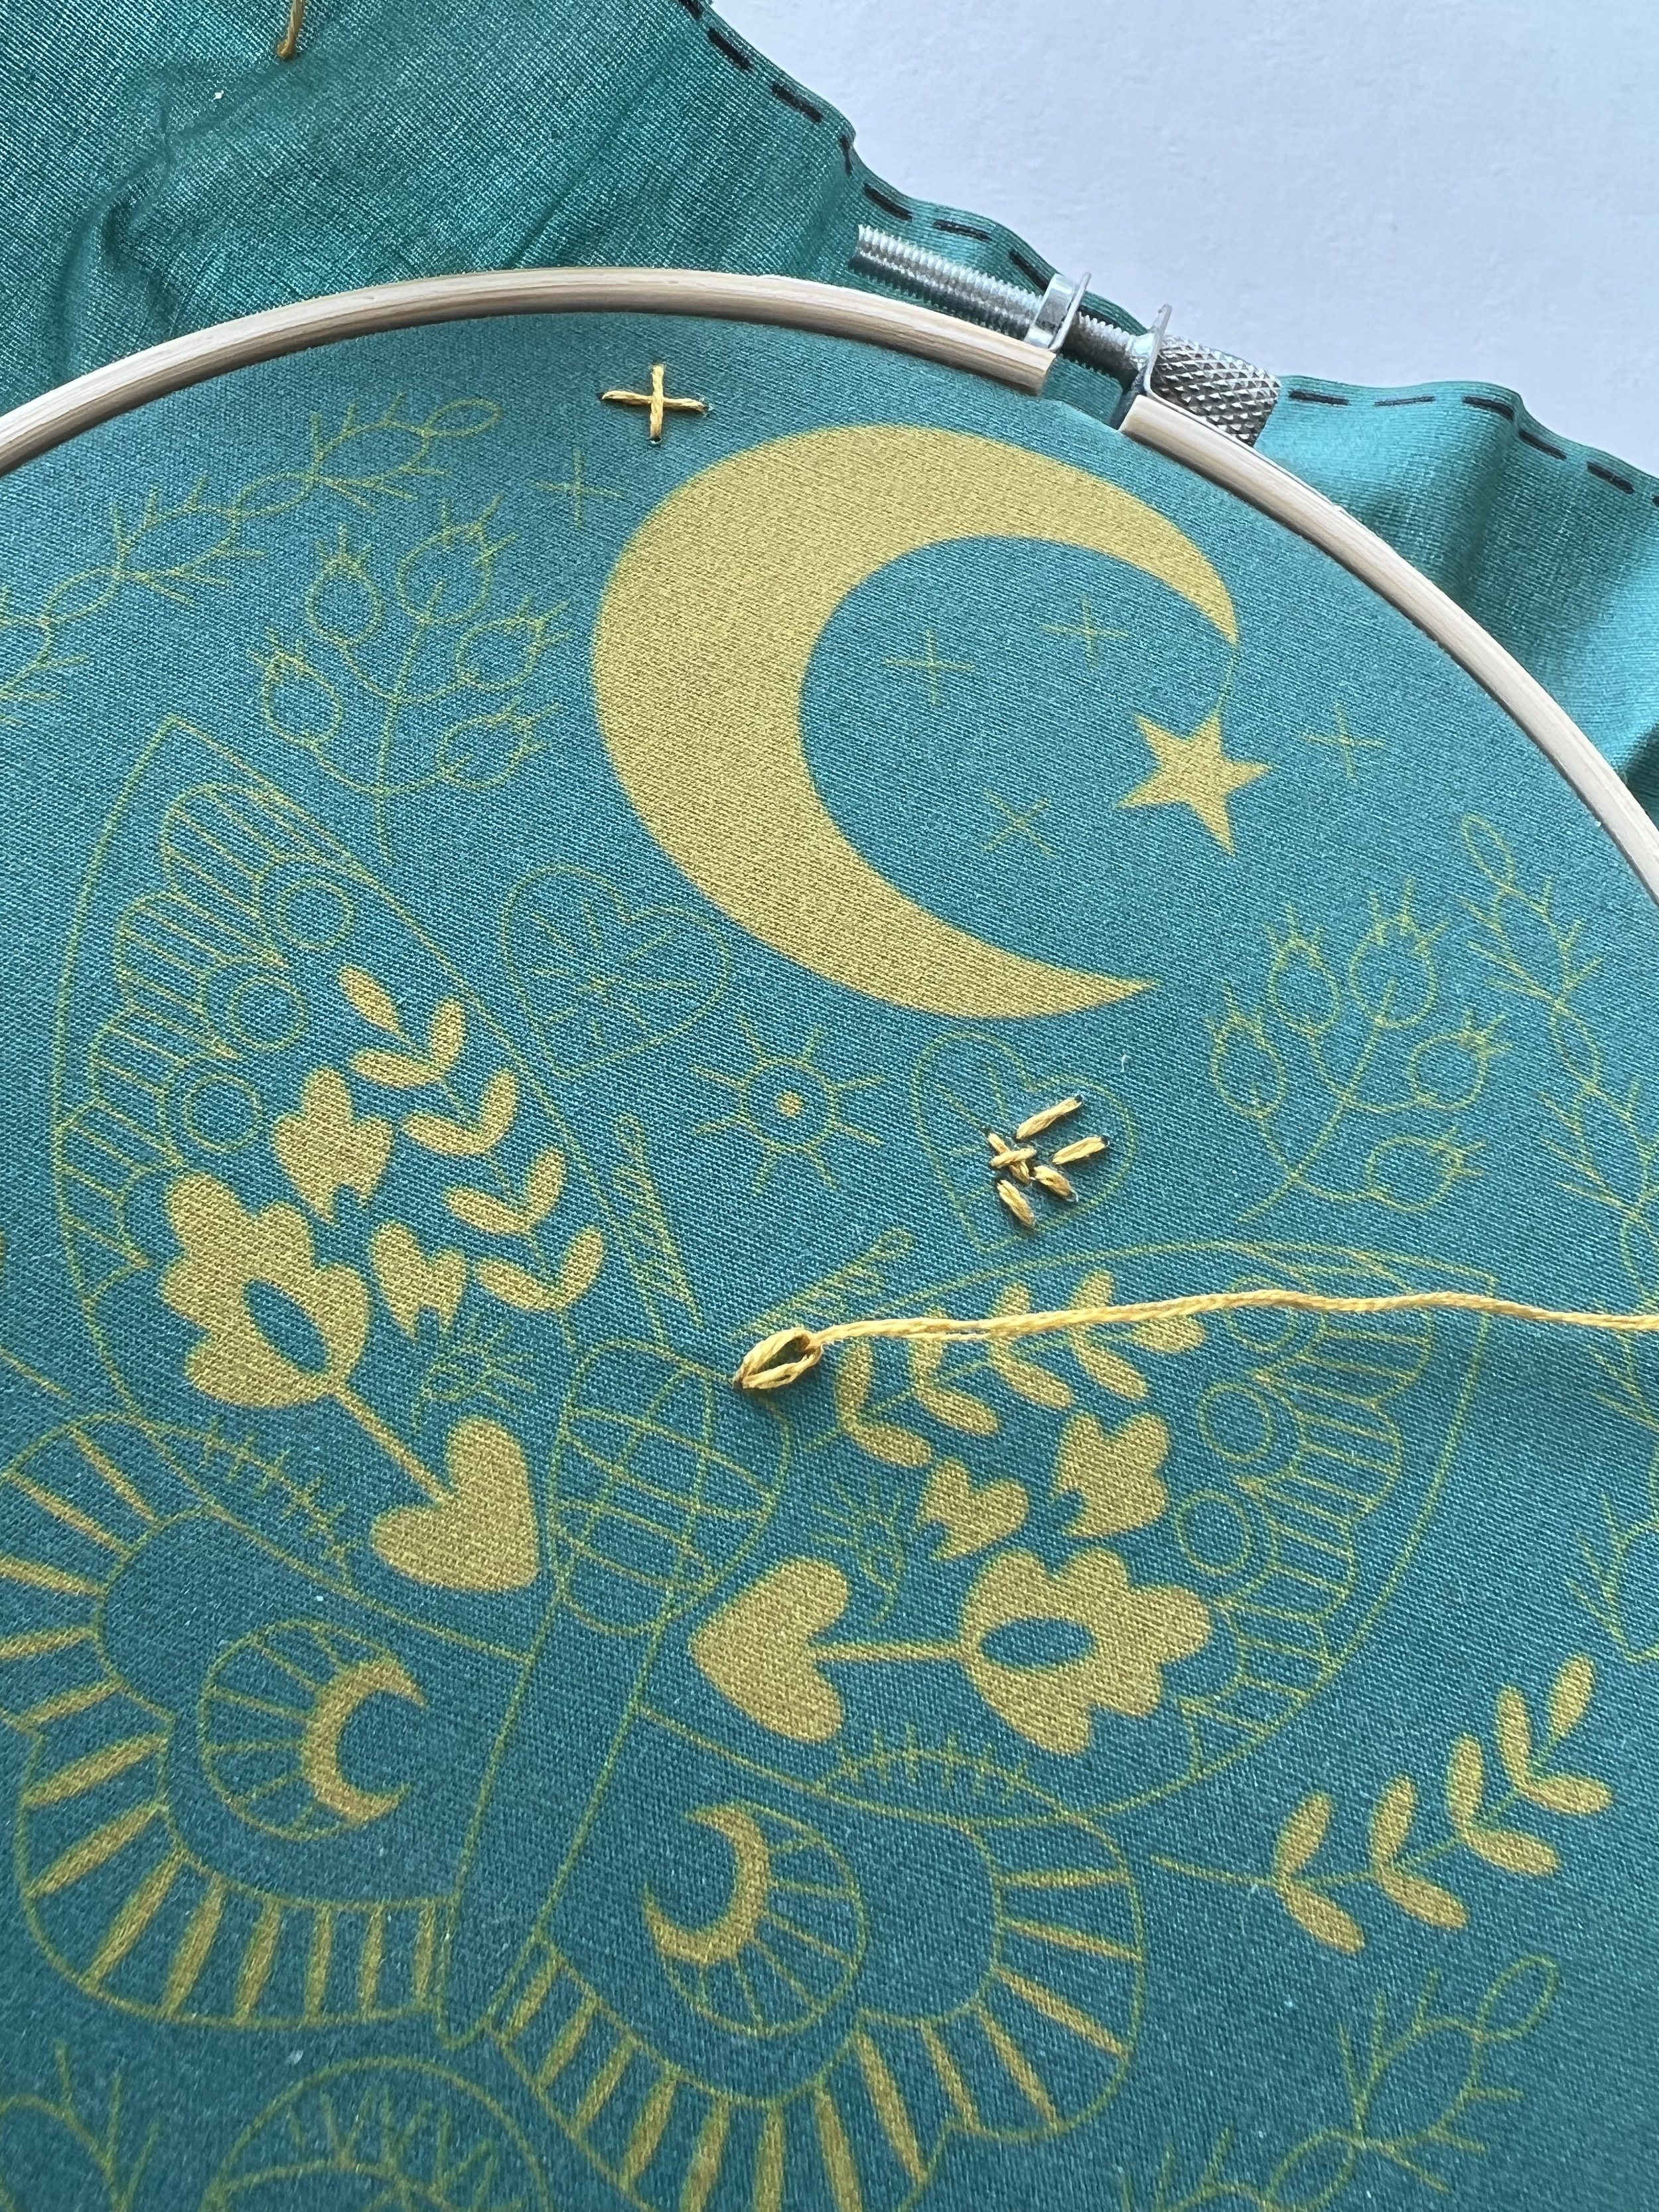
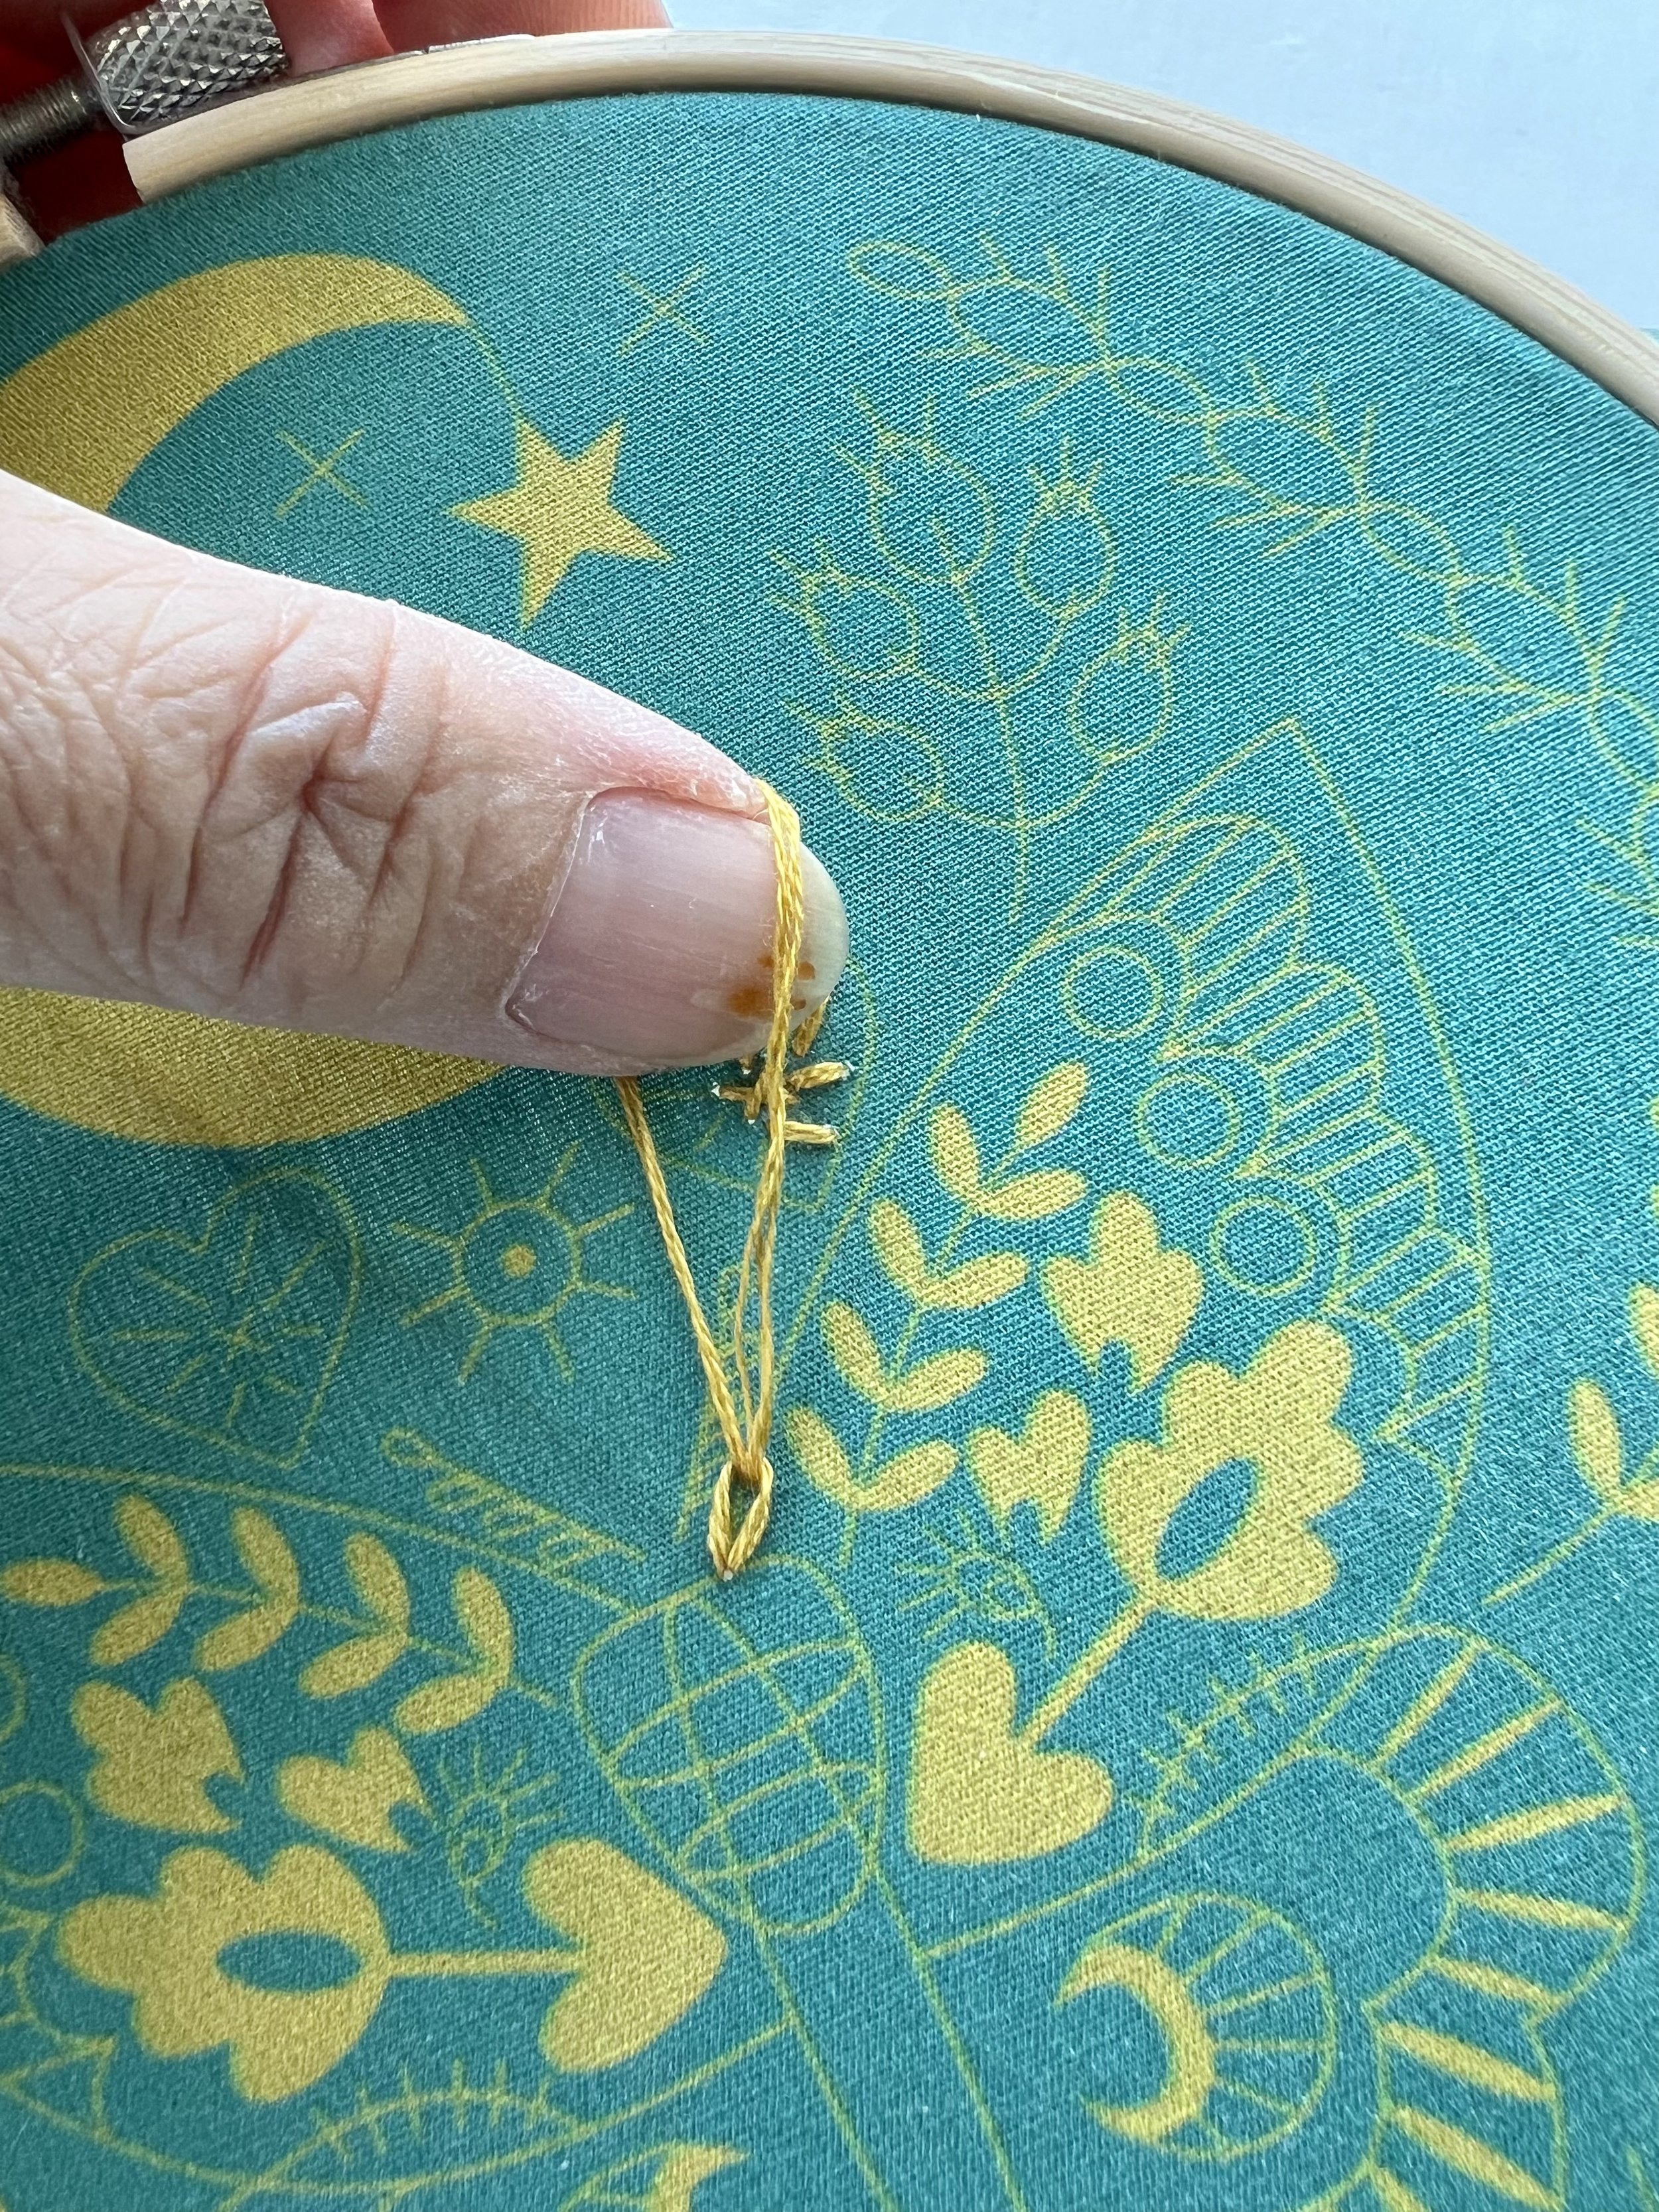
French Knot
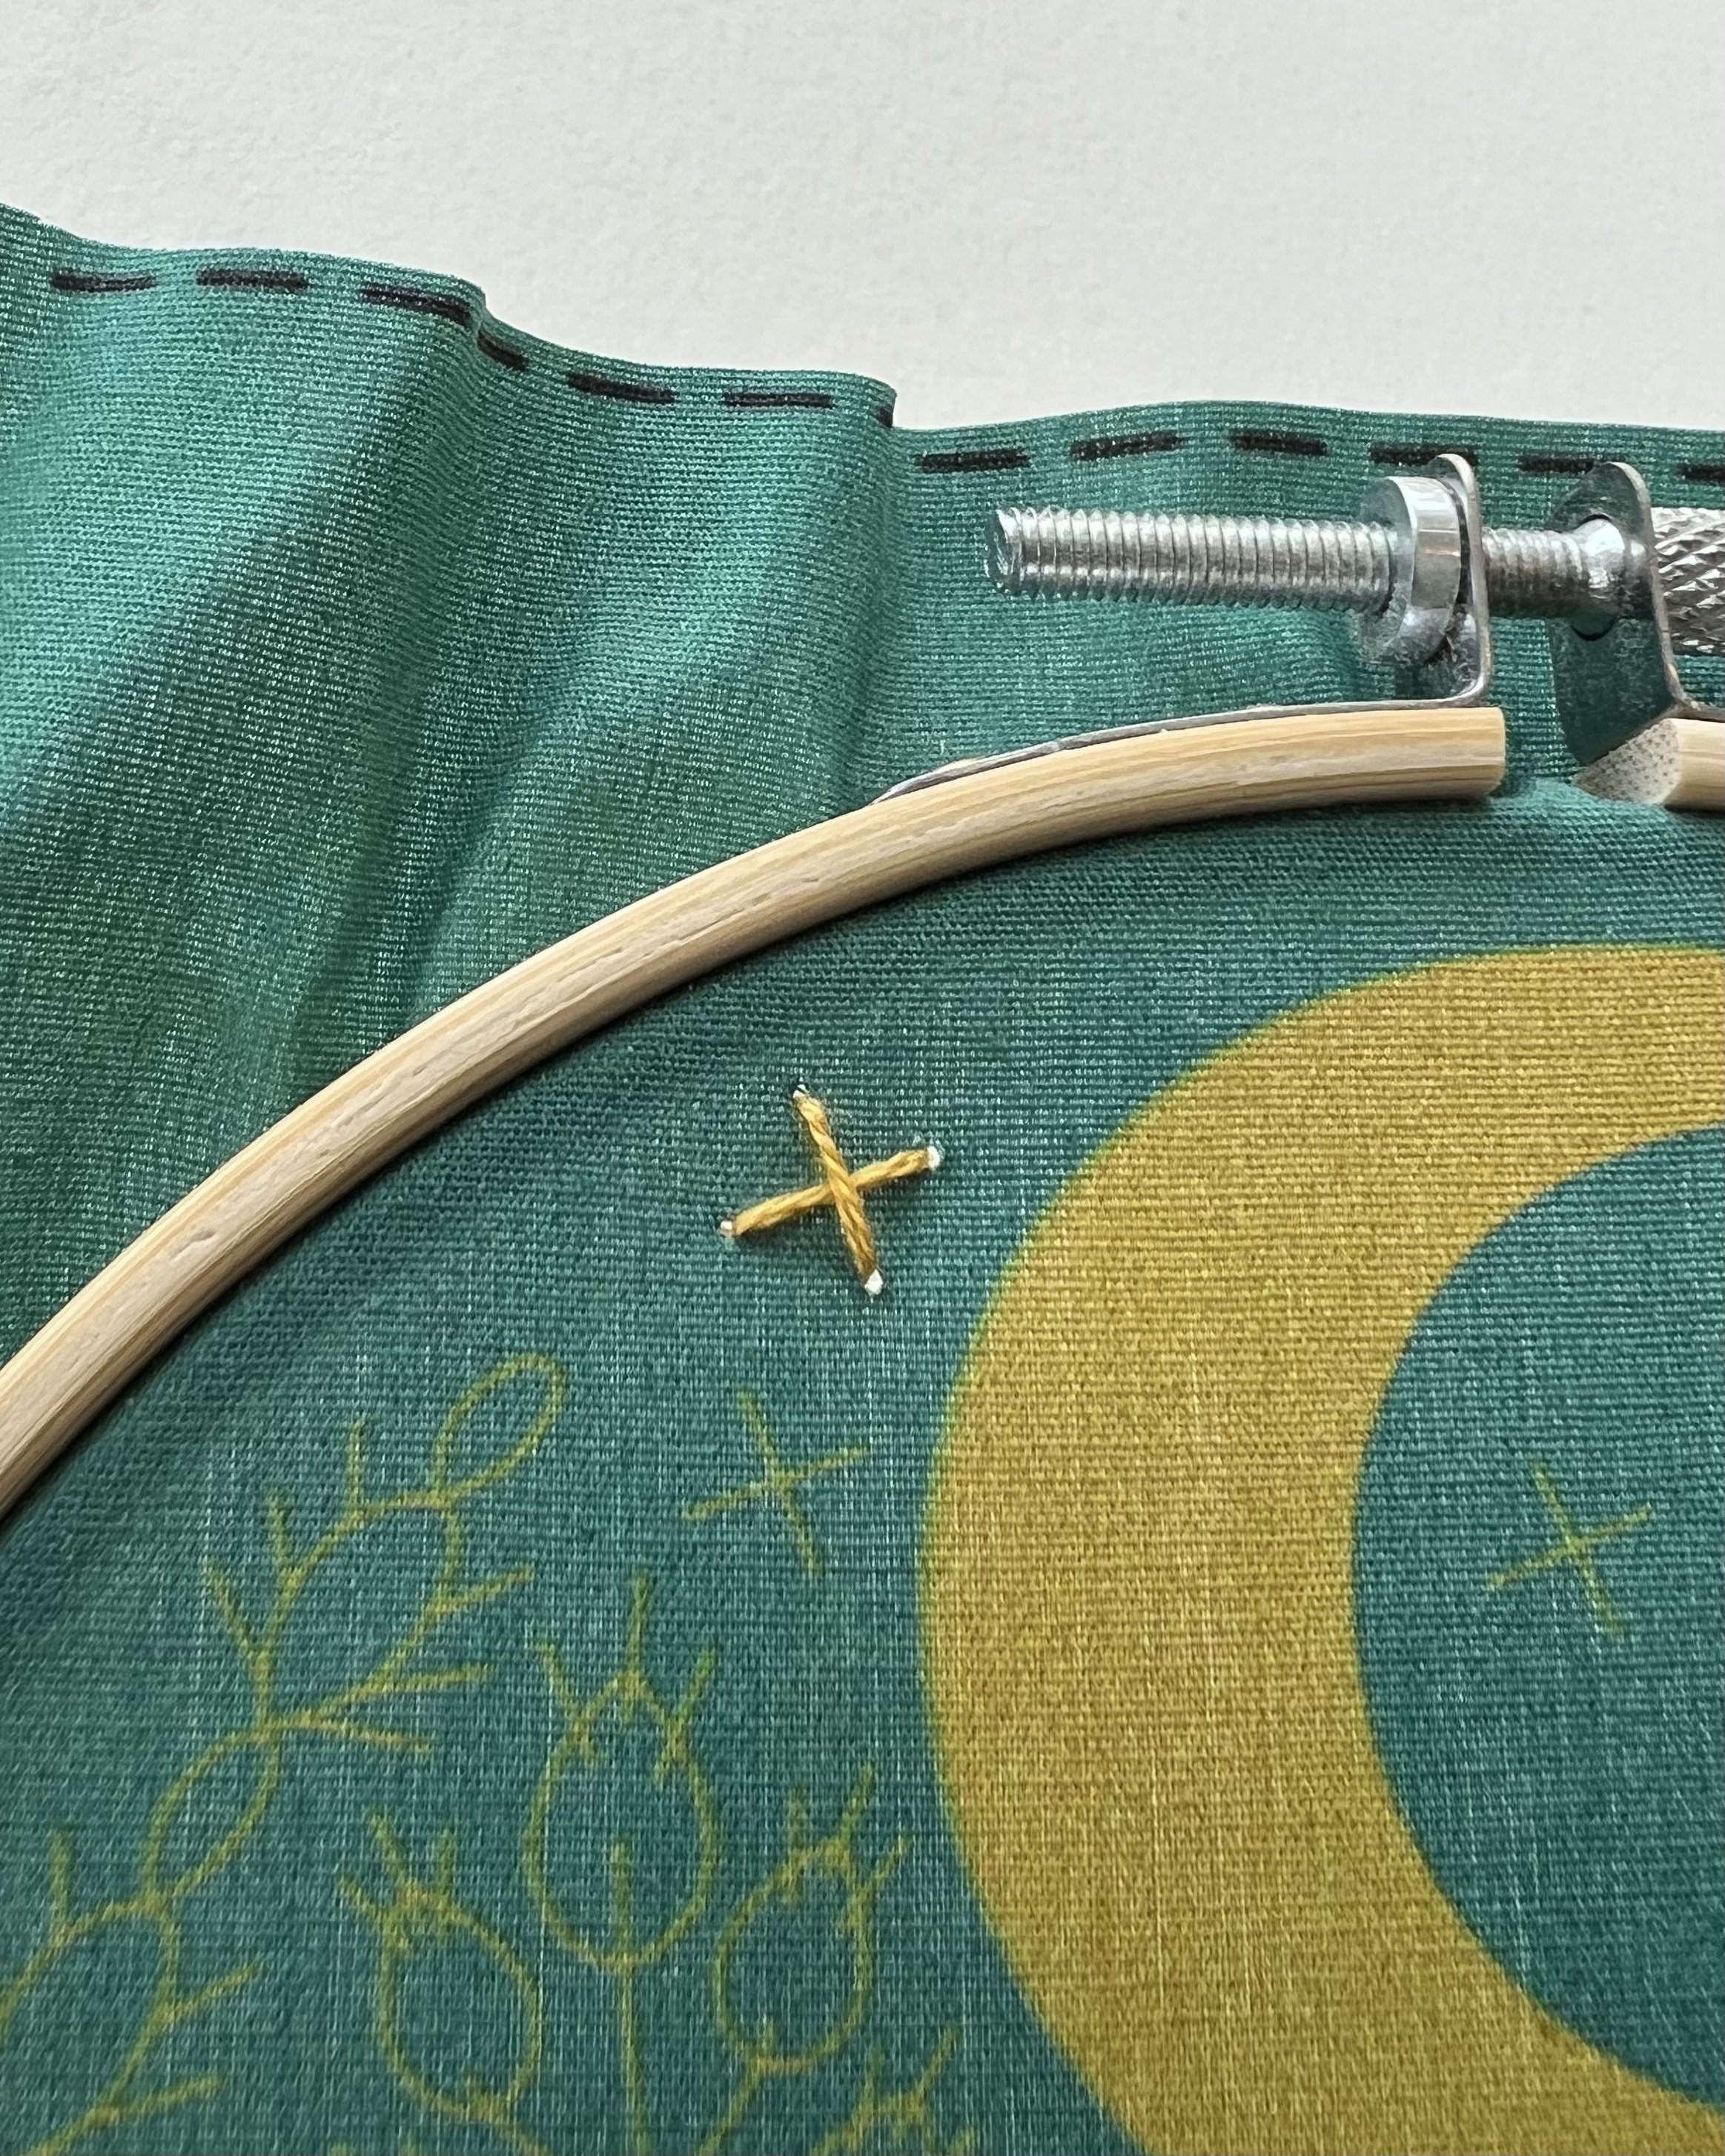
Cross Stitch
Overlapping diagonal stitches
Chain Stitch
Simular to Daisy Stitch but you create the next stitch inside the loop and continue the length of your stitch area. when you are ready to end the line of stitching make a small stitch to tack down the last loop as you would with a Daisy Stitch. I like to use my thumb to keep the loop open when bringing my needle up for the next stitch.