

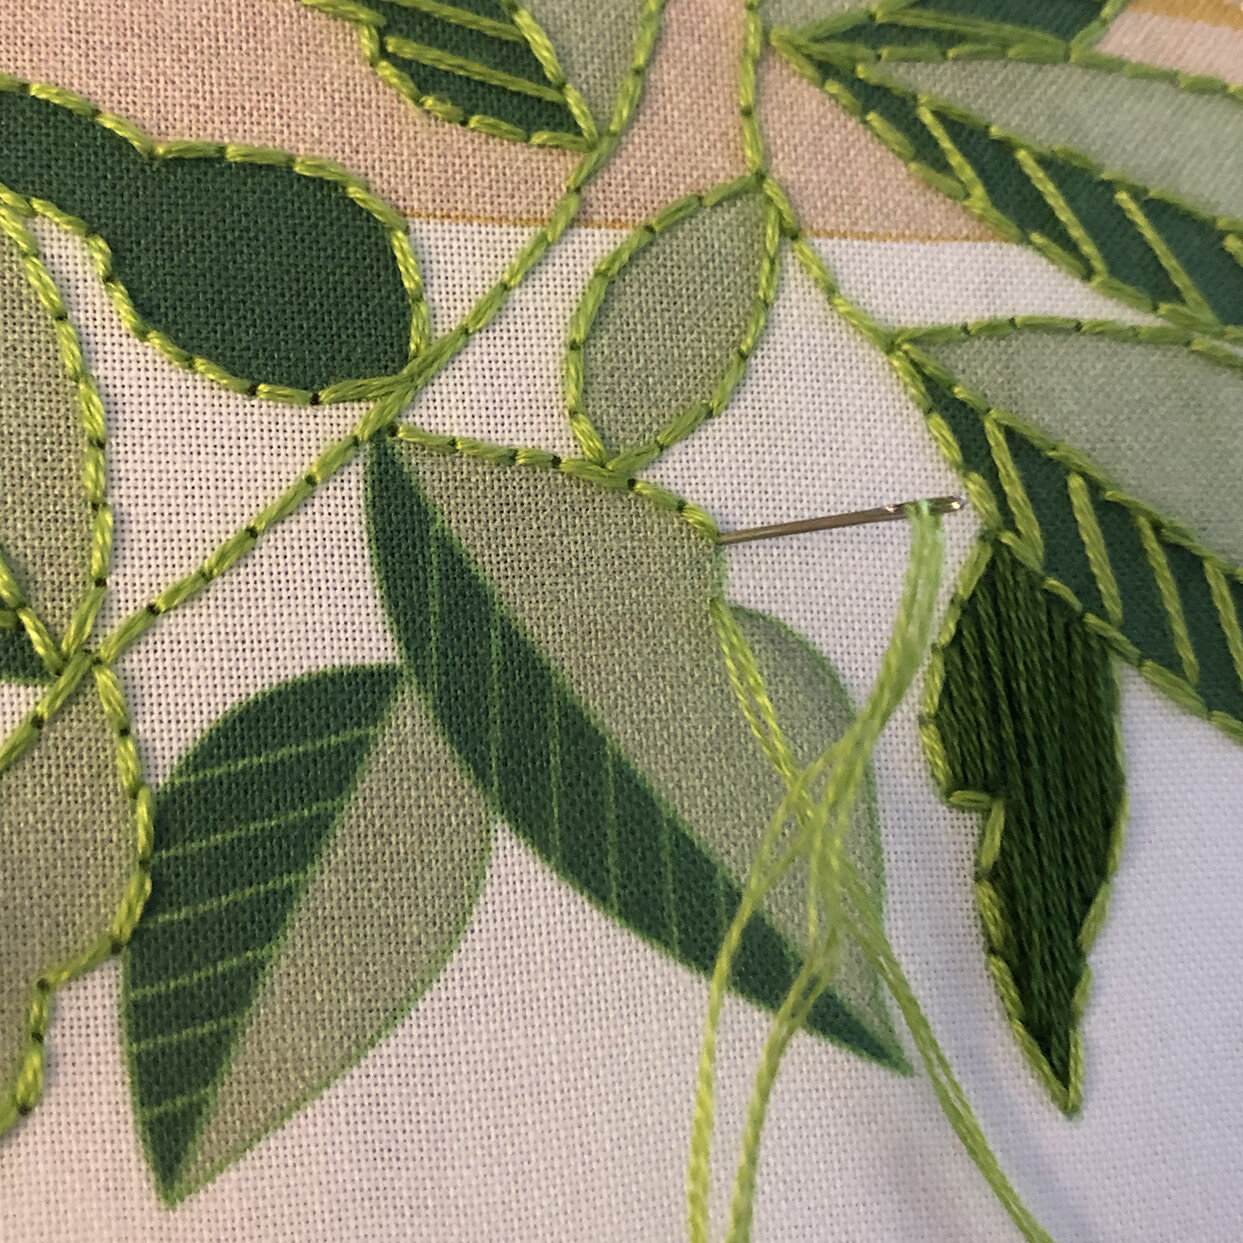
Yellow Flower Pot embroidery kit is part of a set of four. Printed area on light area of the leaves and the beautiful buttery yellow on the pot is left unstitched.
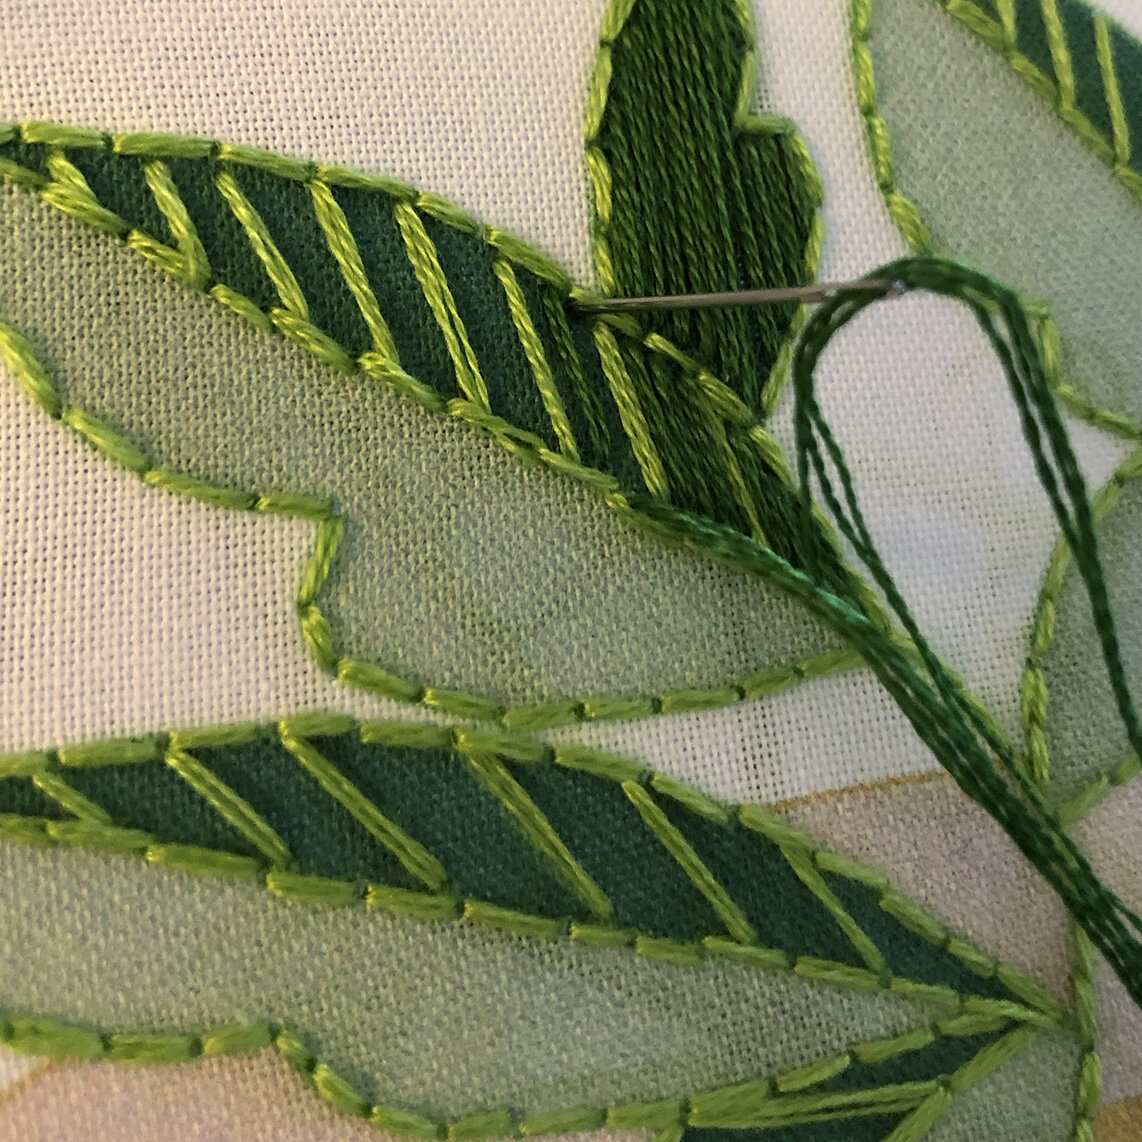
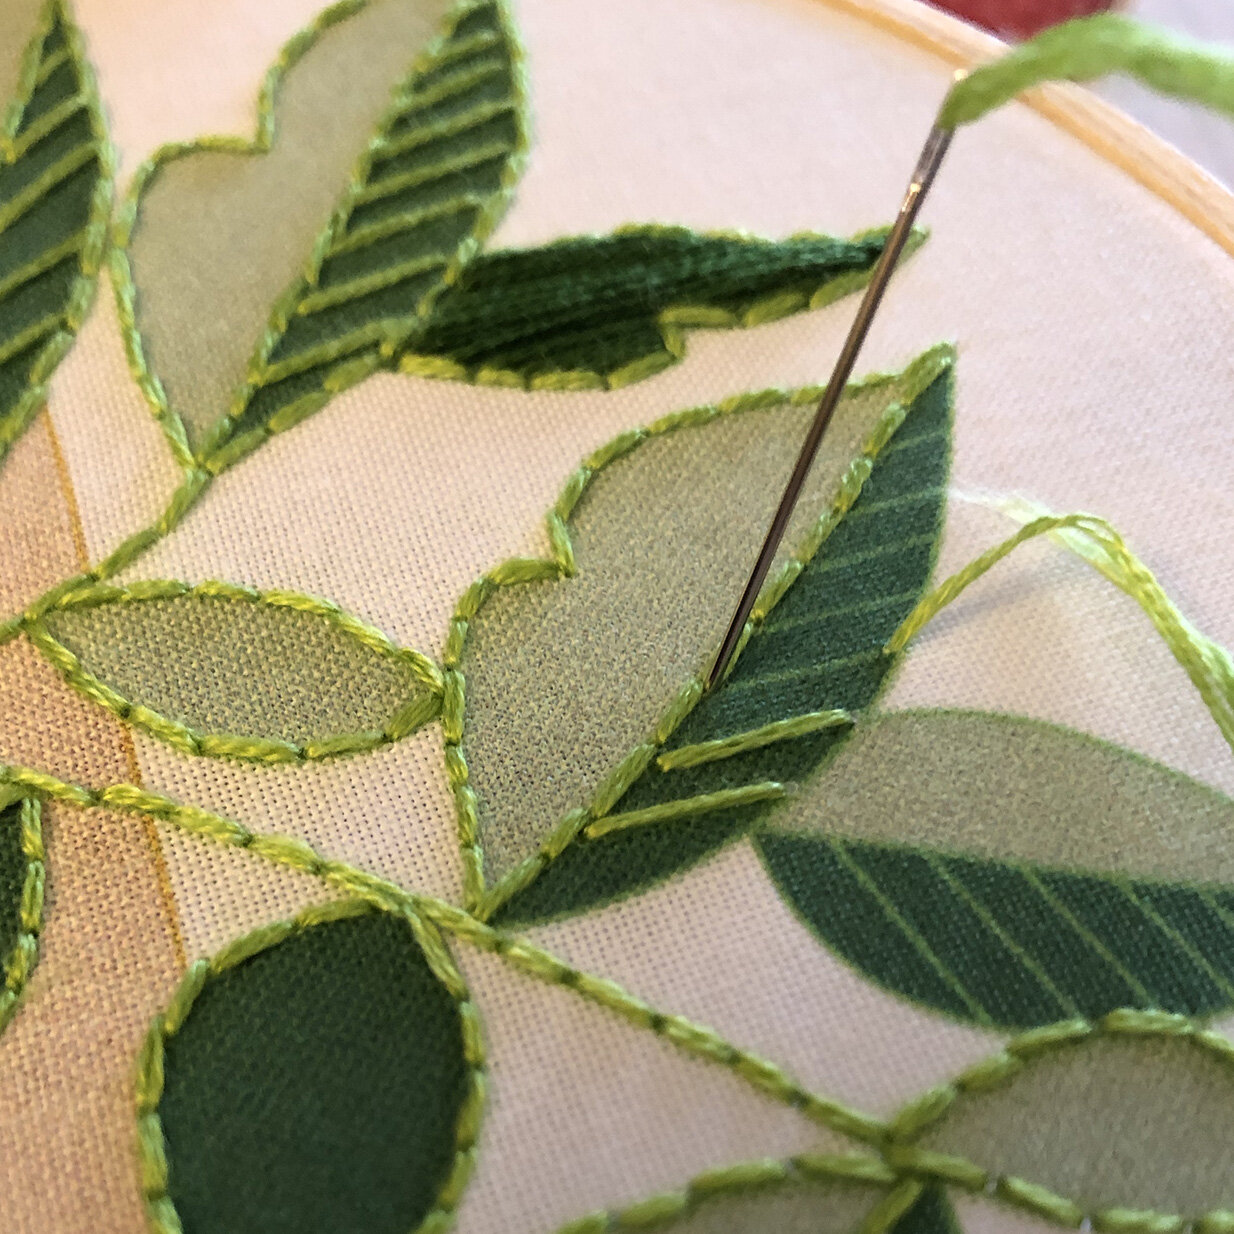
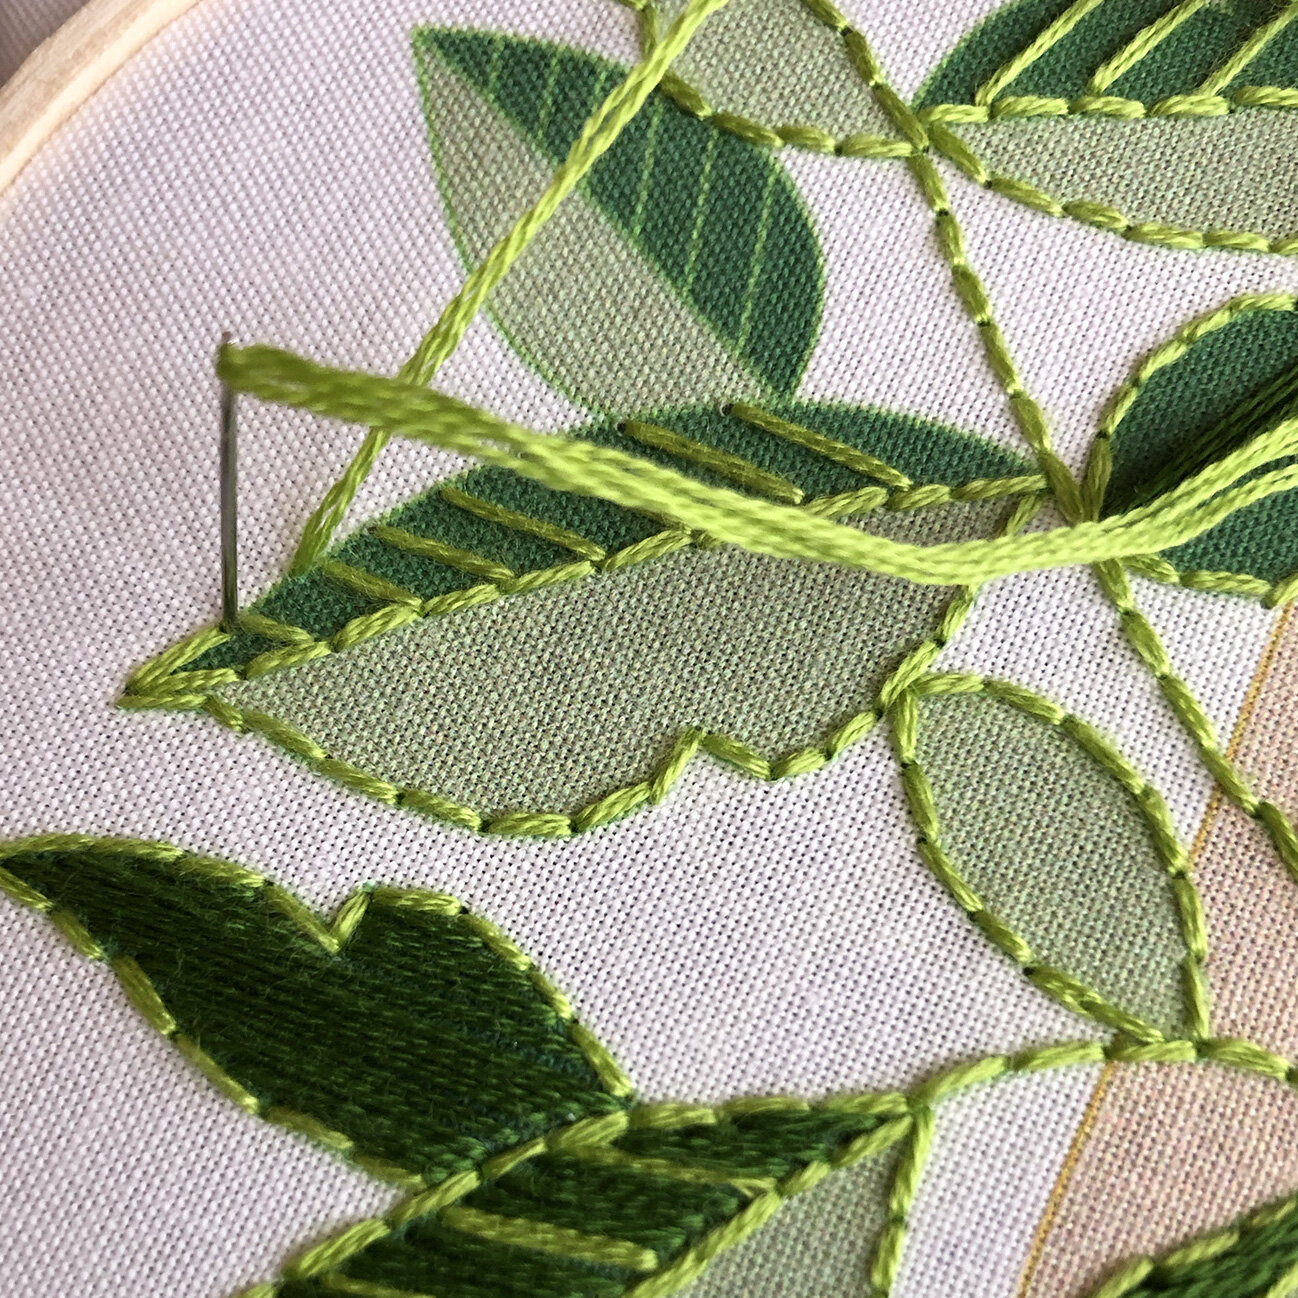
Lt Green DMC 907 is used to back stitch leaf outlines, veins and one stitch across for lines on sides of leaves. Dk Green DMC 905 is used to fill in dark green areas. Use the angle of the light green lines as a guide.
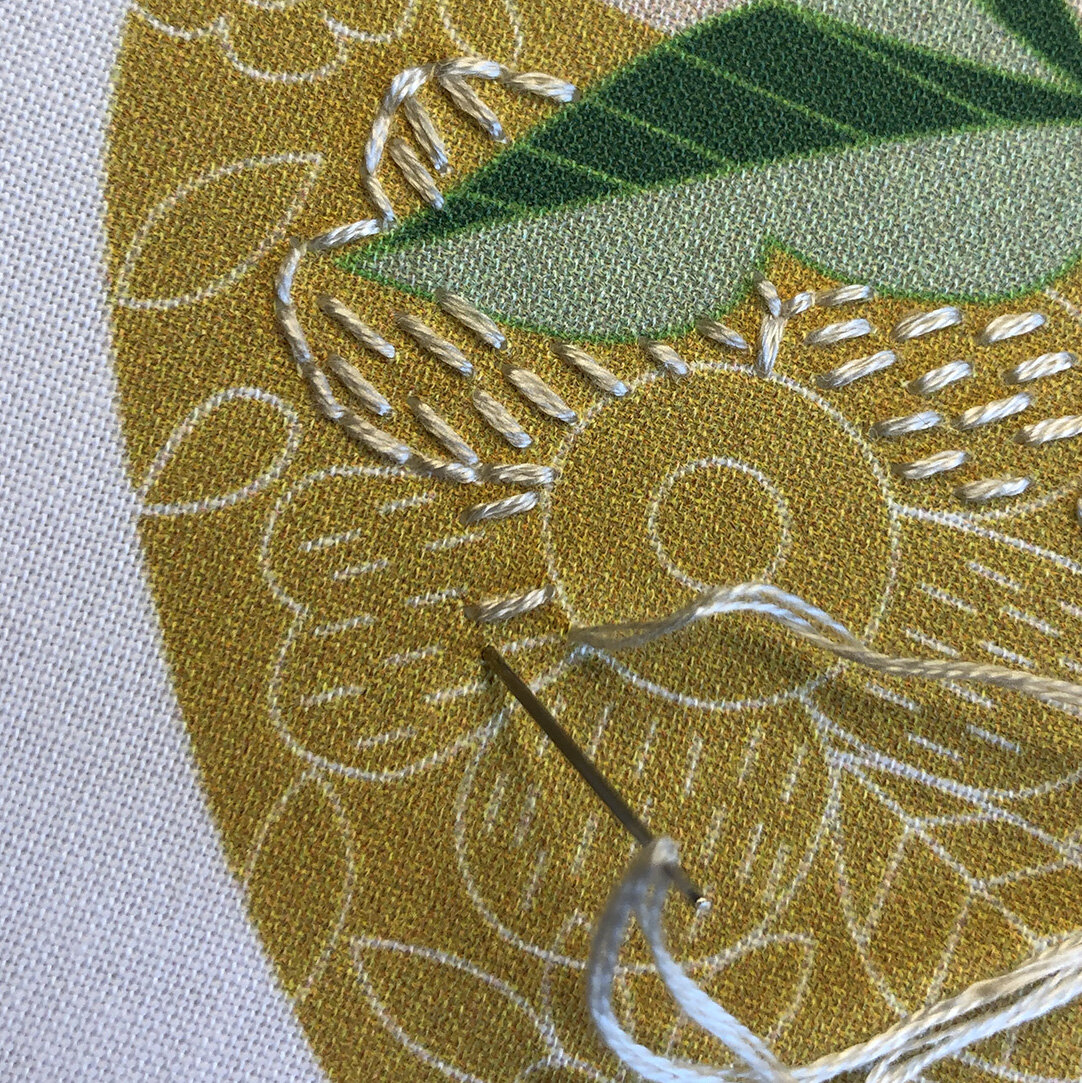
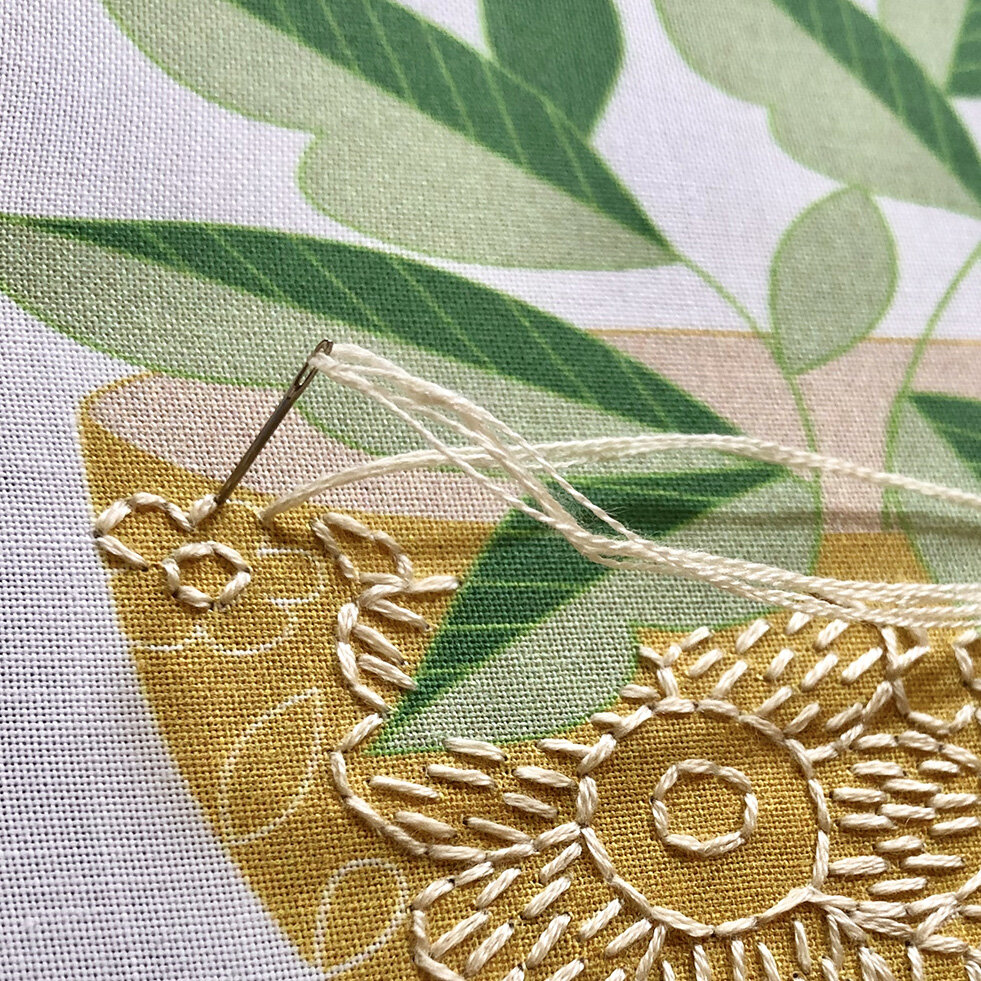
DMC Ecru is used on the flower pot pattern. Seed stitch for the dotted pattern on two flowers. Backstitch for everything else.
**Separate floss into 3 strands. See stitch guide for more info
Suitable for beginners and beyond.
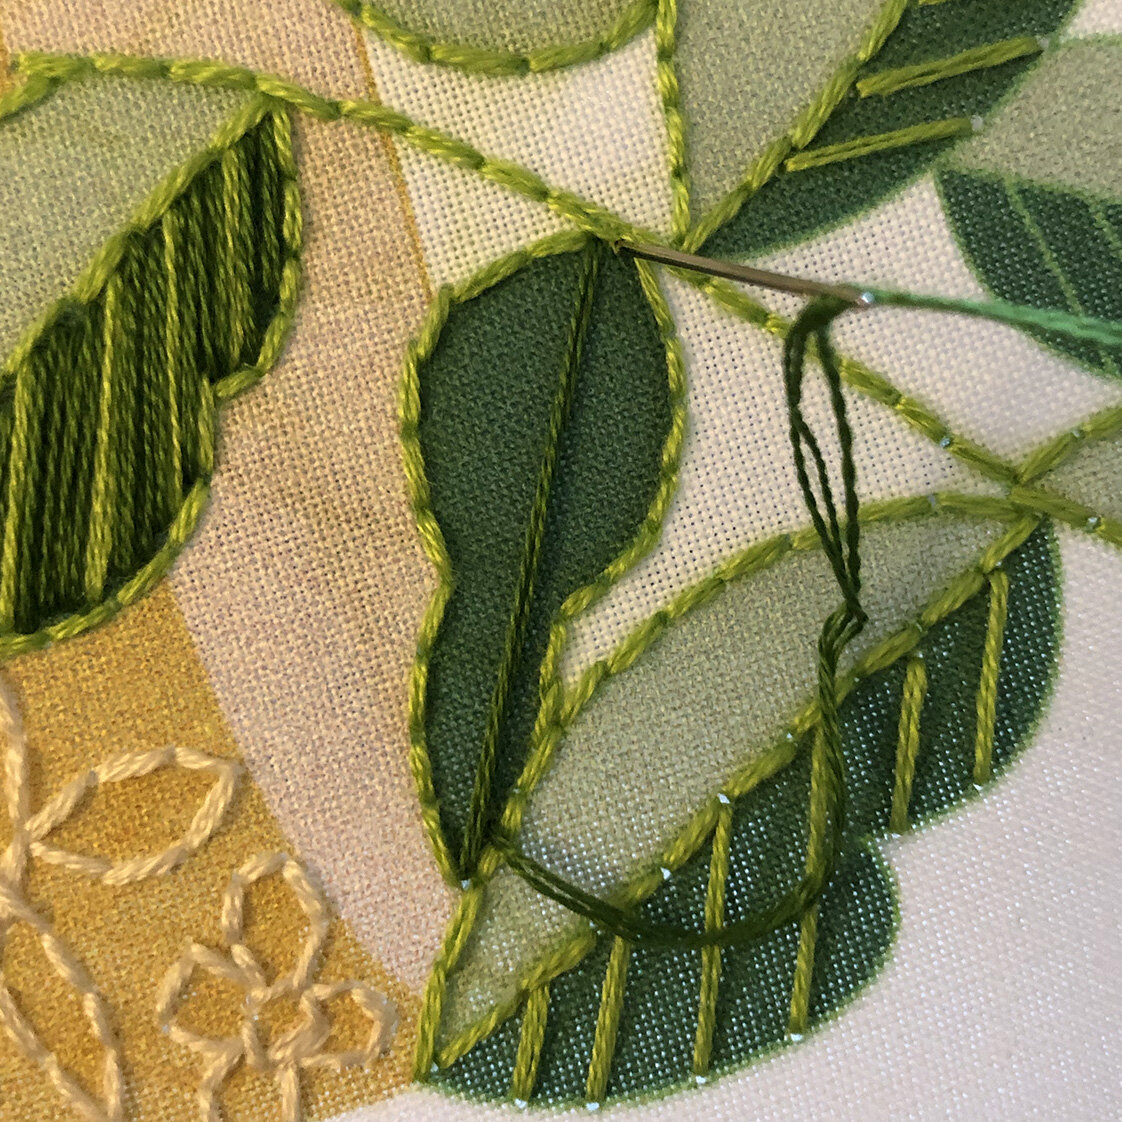
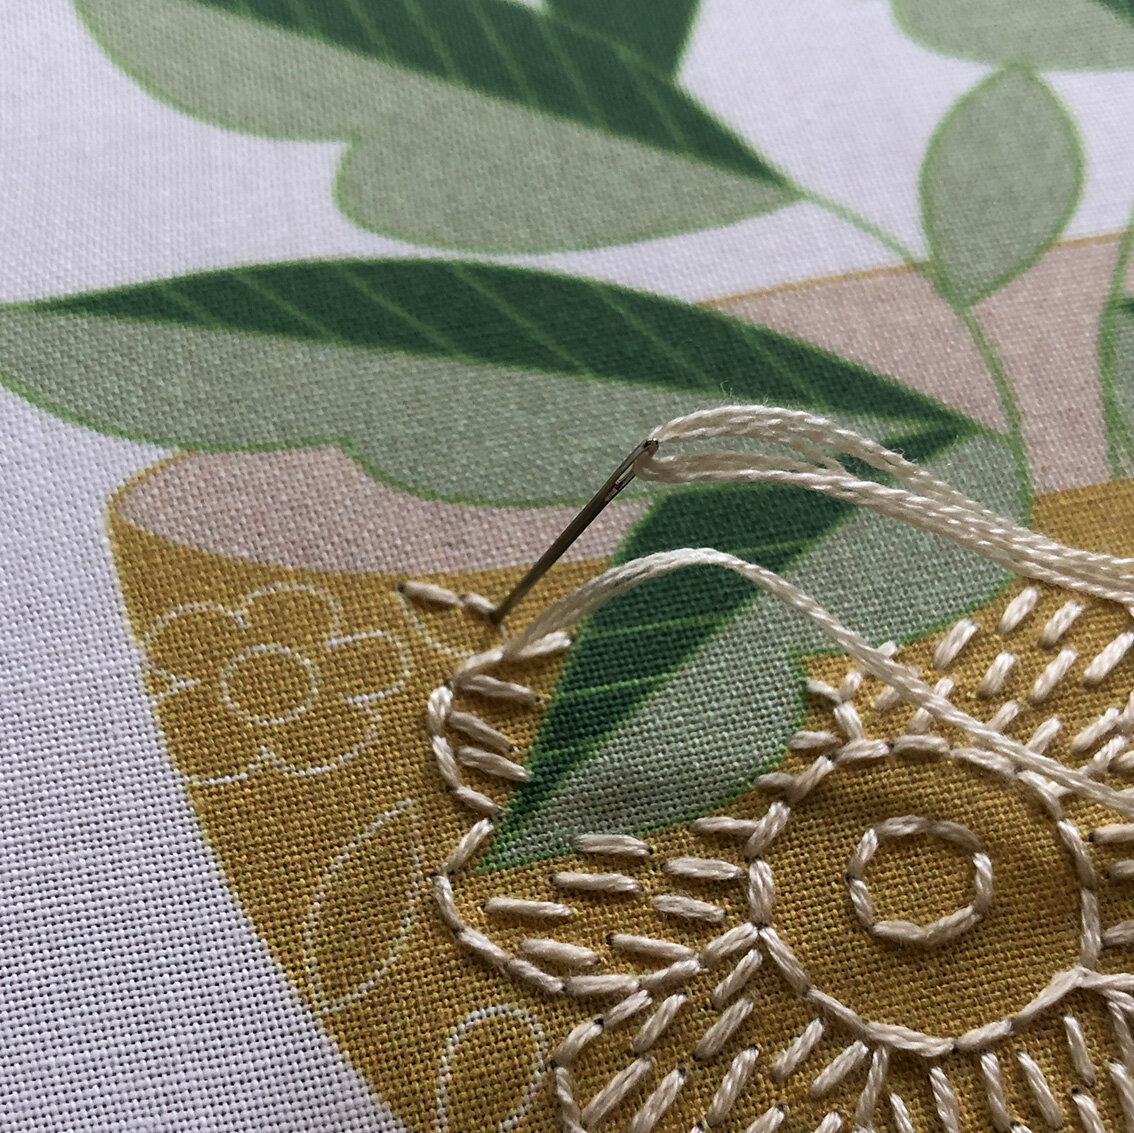


* Be sure to secure your thread on the back by running your needle under existing stitches when first starting a new piece of floss and when you are ending a piece. It is important to do this behind a printed area so that you can cut out any stray threads that would show through the white fabric from the front. You should also do this if you need to move from one leaf to the next and your floss will show from the front. This will allow you to cut the floss in between the leaves so it will not be seen from the front and the floss won’t come loose. Another solution I have seen some folks use is to add a layer of white fabric behind the pre printed fabric to make the image more opaque.